The Raspberry Pi 5 is a powerful and compact device, making it an excellent choice for hosting lightweight applications using Docker containers. In this guide, we’ll walk you through setting up your Raspberry Pi from scratch, installing an operating system, enabling remote access via SSH, and finally, setting up Docker to run your containers efficiently. Whether you’re a beginner or an experienced tinkerer, this tutorial will help you get your Raspberry Pi 5 up and running as a Docker host in no time!
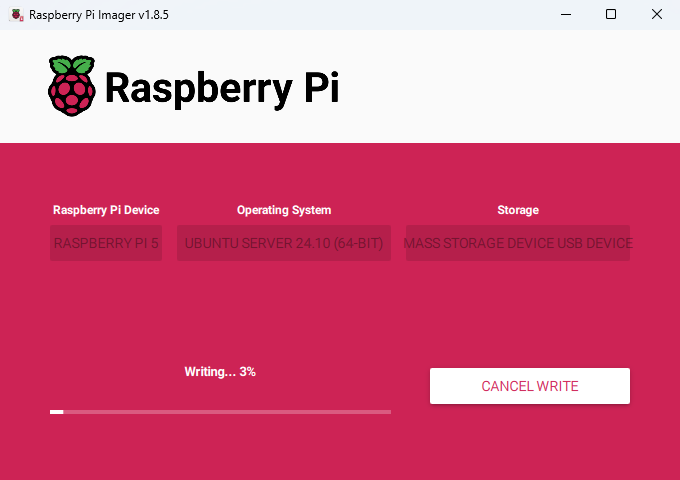
The first thing we need to do is to install an operating system into our Raspberry Pi, for that we will need an SD card, and the Raspberry Pi imager, which you can get here. After downloading the imager, open it and follow the steps below:
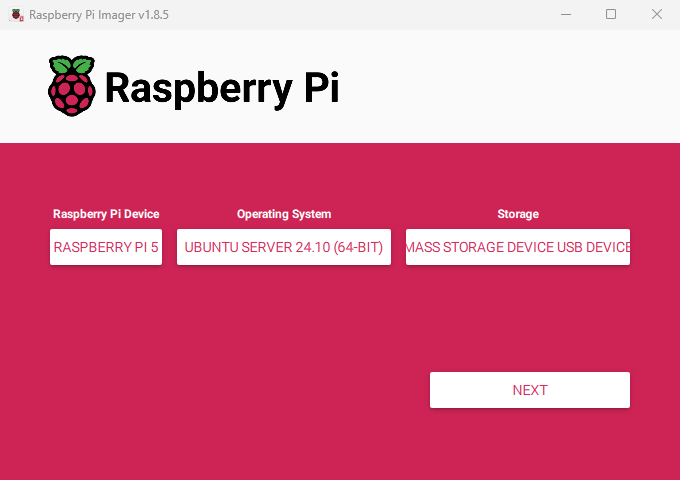
Select your device, OS and SD card and click 'NEXT'
Click on 'Edit Settings'
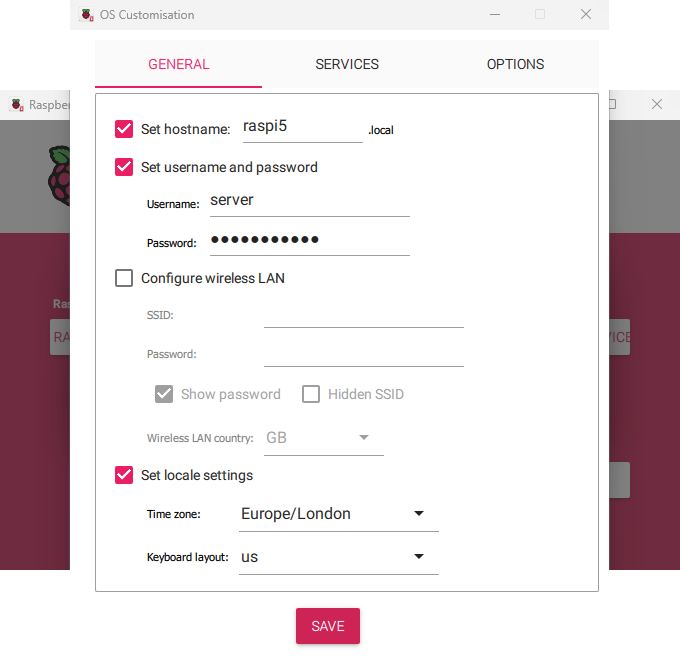
Set your hostname, user and locale
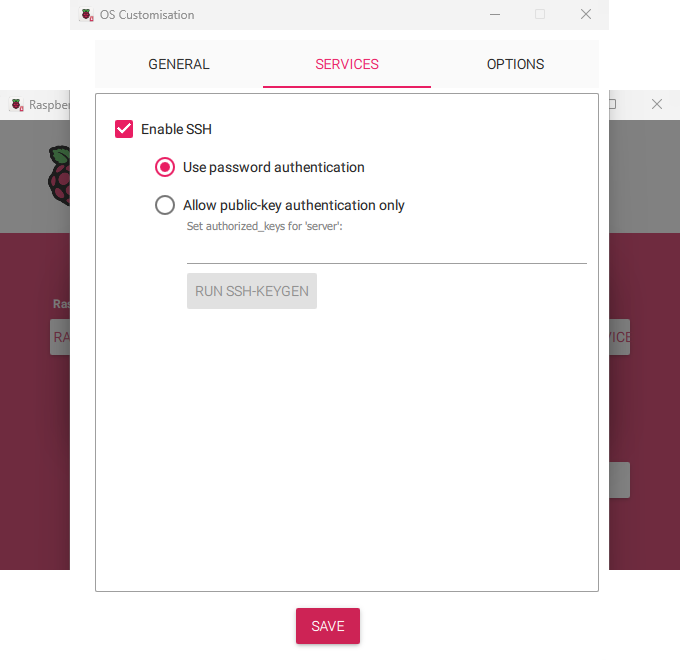
On 'Services', enable SSH with password auth and save
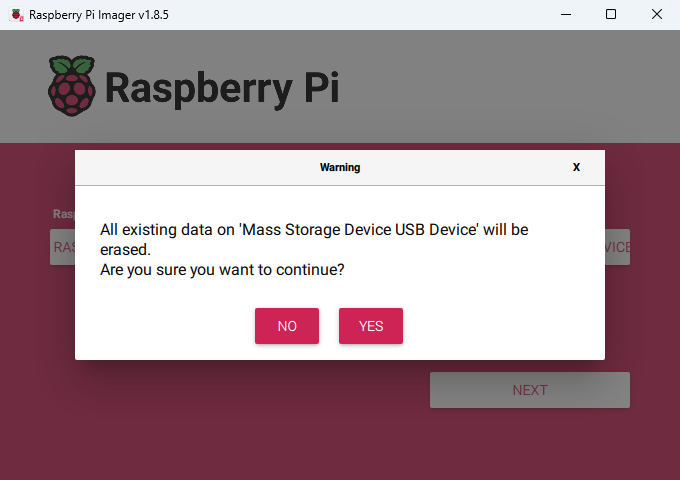
Click 'YES' to format your card
Wait until completion, it auto ejects your card
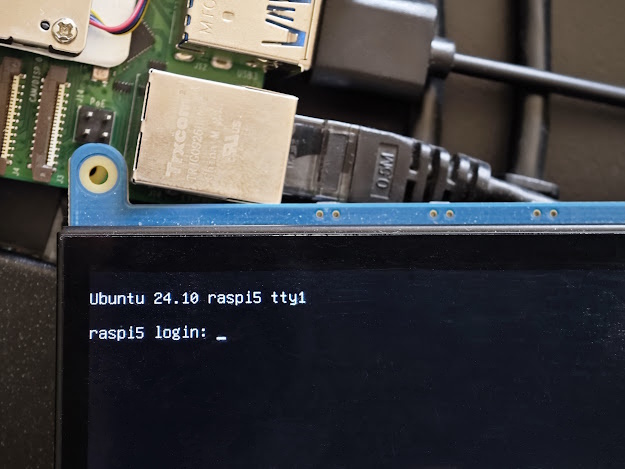
Now insert your SD card into the Raspberry Pi, plug in an Ethernet cable, and give it power. After a while, you should then be greeted with a login screen:
In the previous chapter, we enabled SSH before flashing, this means that you should be able to connect to your Raspberry Pi without any other setup. For that, we will then need to find its IP address, you can do that on your router, like this:
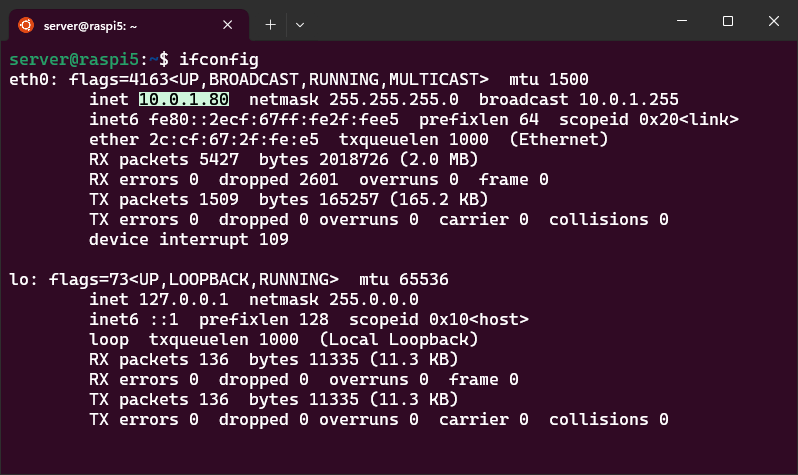
Or on the Pi itself, by installing net tools and running ‘ifconfig’:
sudo apt install net-tools
ifconfig
If you see multiple adapters, look for ‘eth0’ or a similar name and copy the IP after ‘inet’:
After grabbing the IP, you can now connect to your Pi by running:
ssh username@yourip
If you want to access your Pi without having to type your password every time, you can add your ssh keys. Doing that is pretty easy, go to your remote computer and run:
ssh-copy-id username@yourip
If you don’t have any keys to add, you can learn how to generate one in this article.