0 - Introduction
Portainer CE is a lightweight, open-source management UI that makes it easier to work with Docker containers. Whether you’re new to containerization or an experienced developer, Portainer provides an intuitive interface for deploying, managing and monitoring your containers.
In this article we will setup Portainer Community Edition inside a container with docker, so before proceeding, make sure you have docker installed, you can learn how to install it here.
1 - Setup
Start by making a folder for Protainer and, in it, create a file named ‘docker-compose.yml’:
mkdir portainer
cd portainer
nano docker-compose.yml
In this file paste the configuration below. If you want to, you can change the host port by replacing ‘9443’ with the port you wish to use and to check for a more recent version of the image, you can look here.
services:
    portainer-ce:
        image: 'portainer/portainer-ce:2.26.1'
        volumes:
            - './data:/data'
            - '/var/run/docker.sock:/var/run/docker.sock'
        restart: always
        container_name: portainer
        ports:
            - '9443:9443'
            - '9000:9000'
After saving the file (CTRL-O and CTRL-X), run the following command to start the container:
docker compose up -dAfter the container starts up, you can access the web app by going to:
http://yourmachinesip:9443If you wish to use a reverse proxy like NGINX, use the HTTP port (9000 by default).
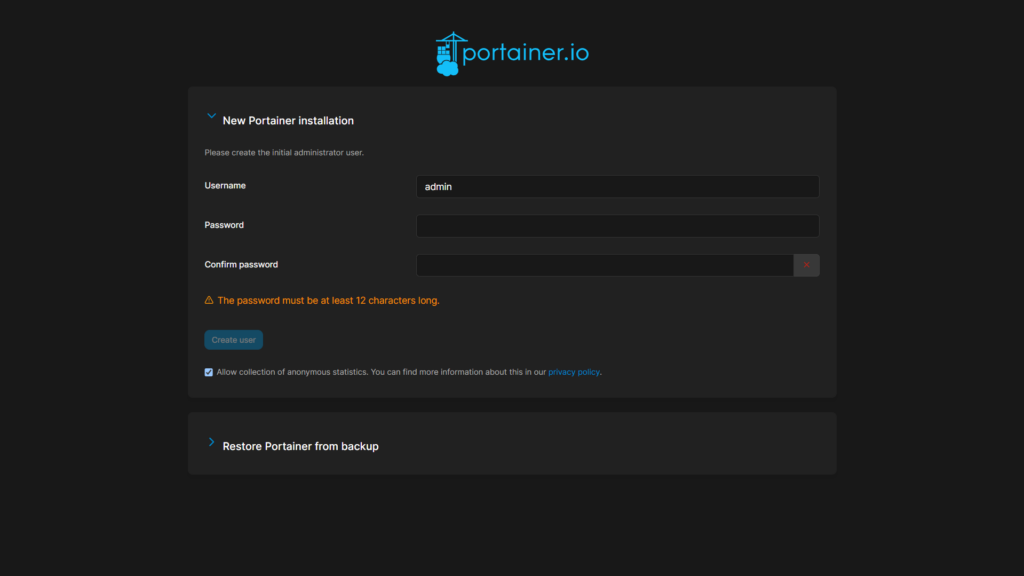
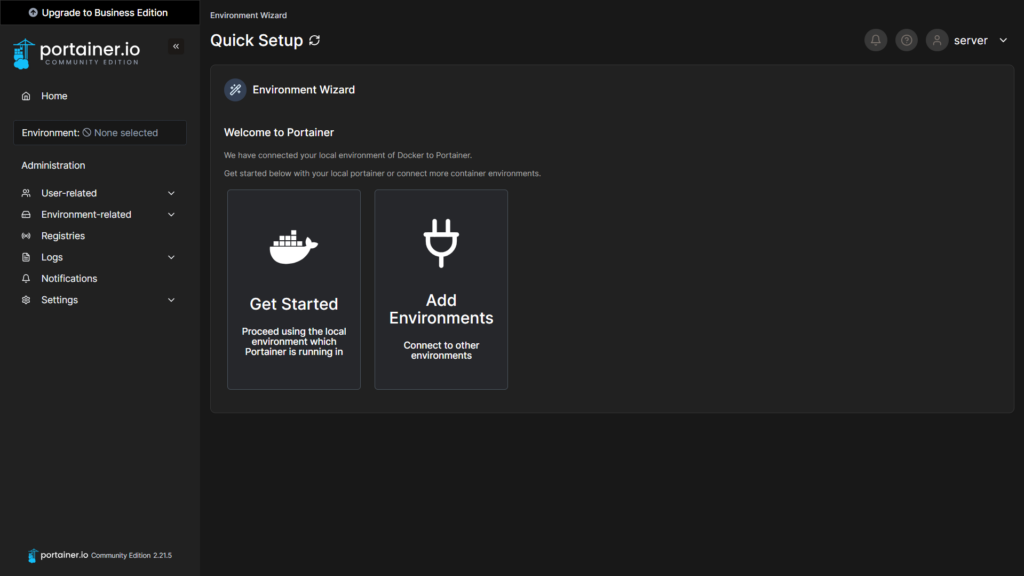
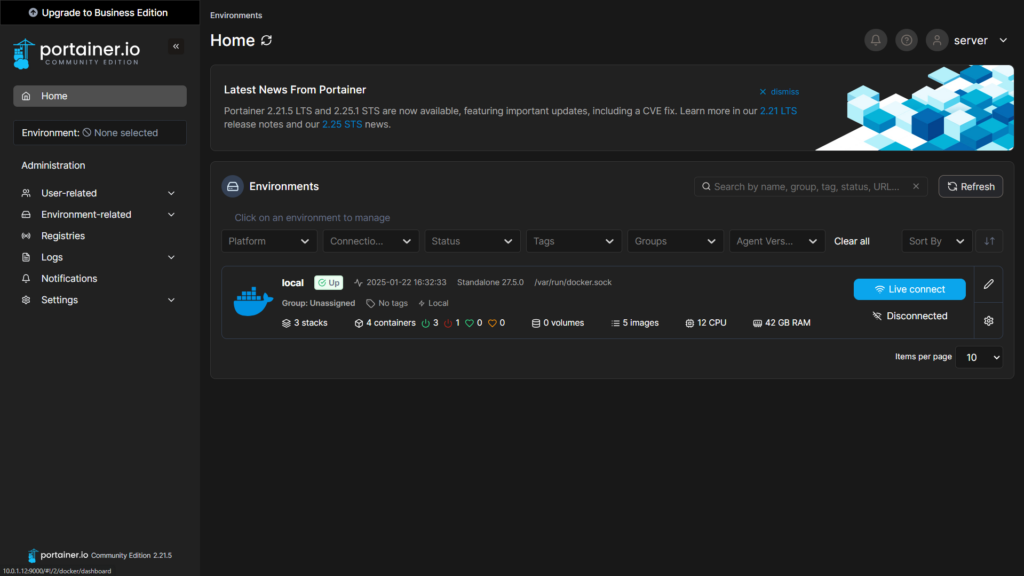
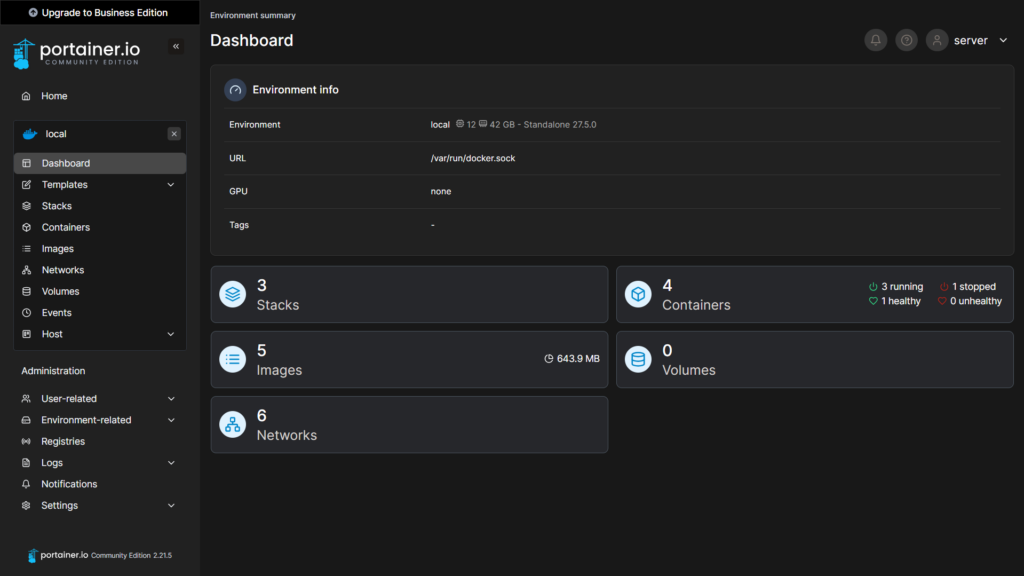
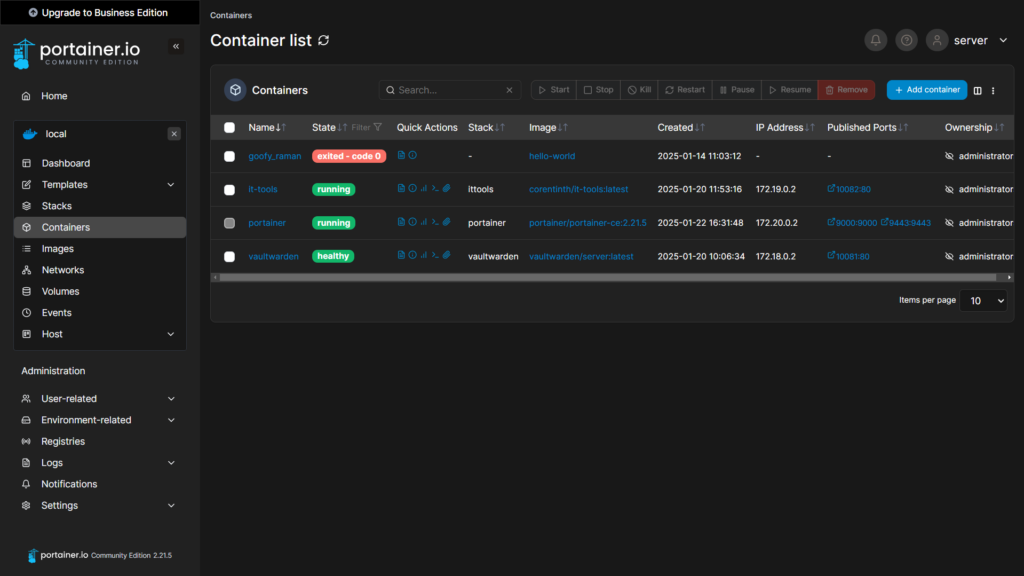
And that’s it, you should now be able to start, stop and add containers to your machine running docker!
Thanks for reading and stay tuned for more tech insights and tutorials. Until next time, and keep exploring the world of tech!
