0 - Introduction
Otter Wiki is a software program designed for collaborative content management, also known as a wiki. It is unique in that the content is stored within a git repository, which meticulously tracks all changes and data. Markdown is used as the markup language, making it familiar for many users. Best of all, it’s easily deployed and managed using Docker, simplifying setup and use.
If you don’t have docker yet, learn how to set it up on Ubuntu in this article.
1 - Setup
Start by creating a folder for Otter Wiki and, in it, create a file named ‘docker-compose.yml’:
mkdir otterwiki
cd otterwiki
nano docker-compose.yml
In this file paste the configuration below. If you want to, you can change the host port by replacing ‘10085’ with the port you wish to use:
services:
  otterwiki:
    image: redimp/otterwiki:latest
    restart: unless-stopped
    ports:
      - "10085:8080"
    volumes:
      - ./data:/app-data
After saving the file (CTRL-O and CTRL-X), run the following command to start the container:
docker compose up -dAfter the container starts up, you can access the web app by going to:
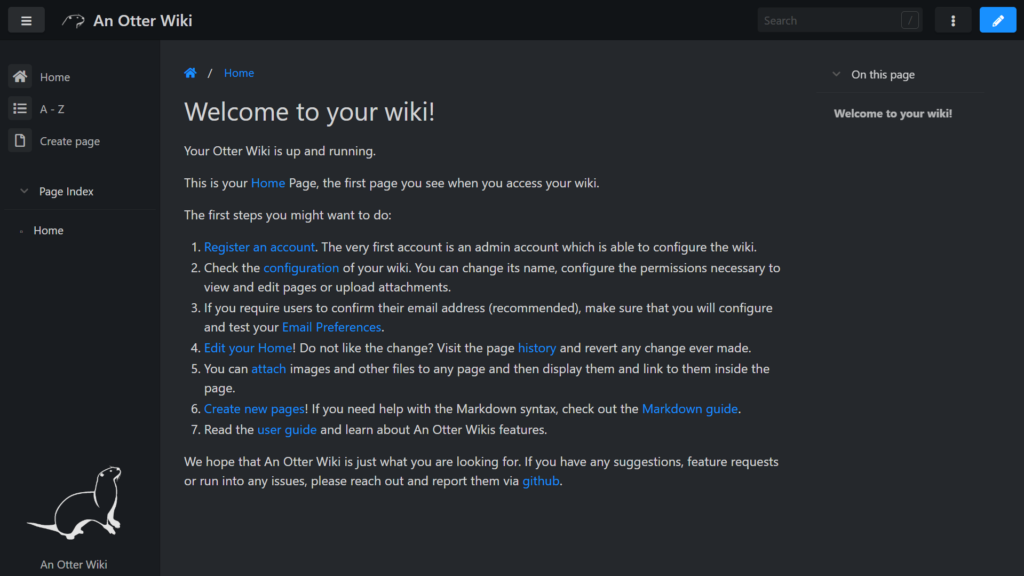
http://yourmachinesip:10085You will be greeted by this Welcome Page, in it, there are a lot of usefull first steps to set up your wiki and I encourage you to read them after you are done with this article but, before that, click on ‘Register an account’ in the first step.
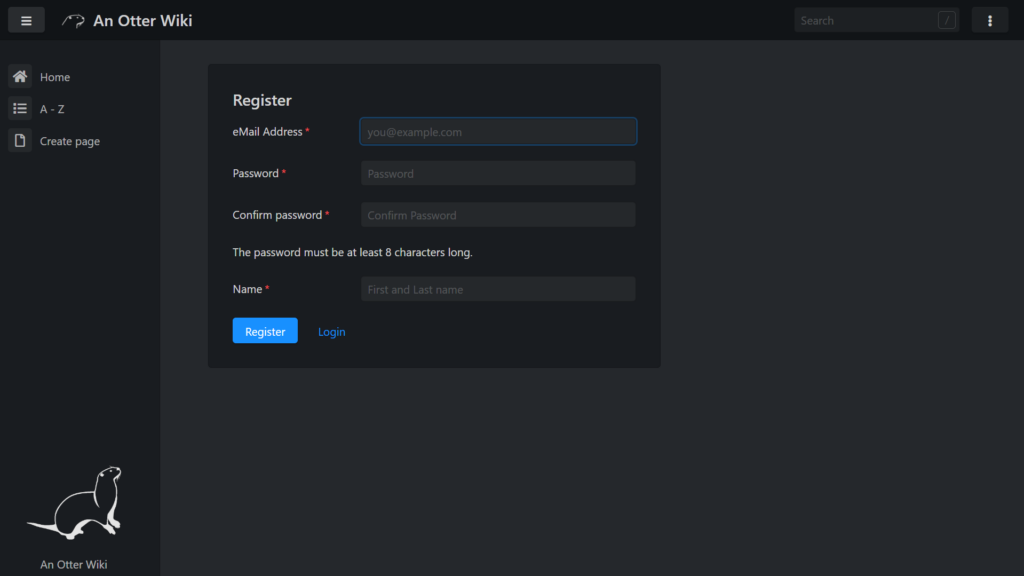
You need to create as soon as you can access your wiki an user. That is because the first user created will be automatically aproveded, won’t require email confirmation and will be an admin. The username and password created here can also later be used to edit your wiki via git.
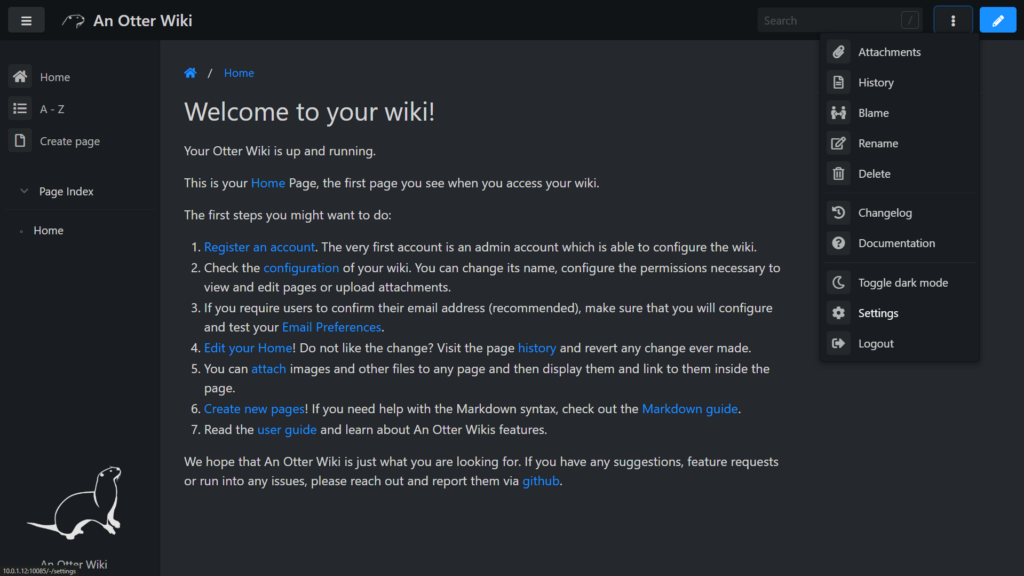
After logging in, you can then go to ‘Settings’ in the 3 dots at the top right of the page, in there you will be able to change your password, but also change application settings.
In the settings page even a non-admin user can change it’s name and password but, as an admin, you can also go to other menus on the left side bar.
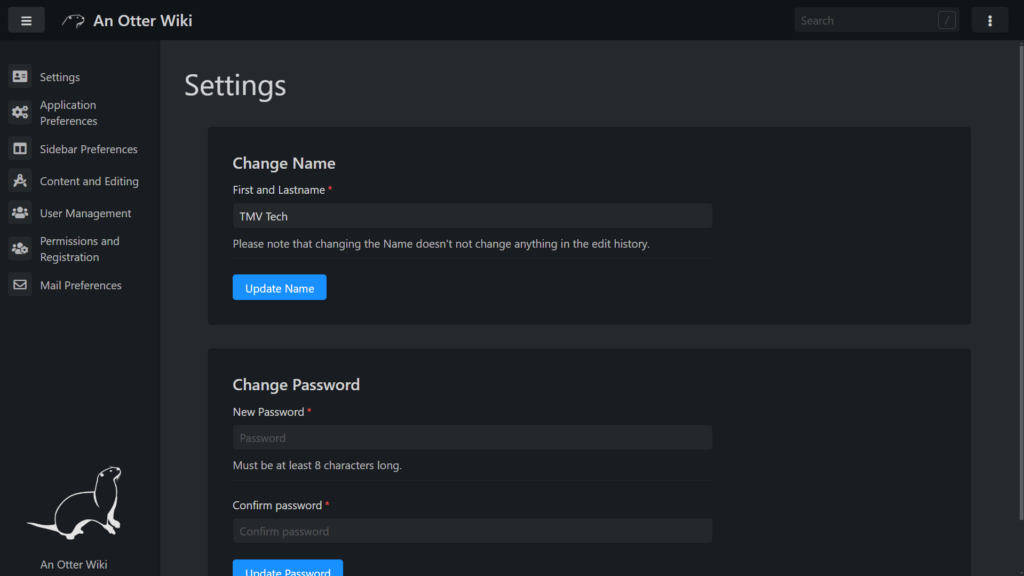
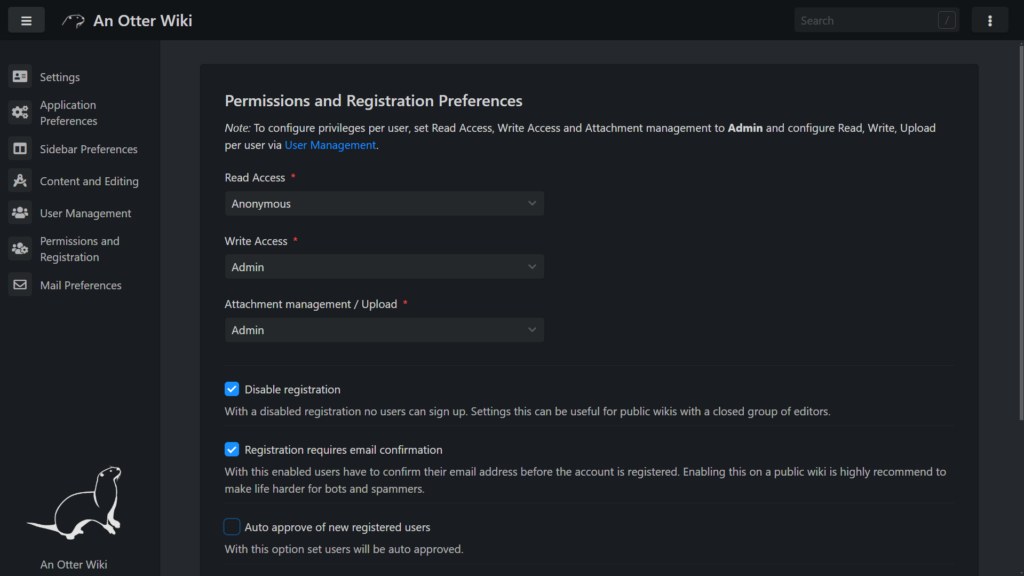
On the ‘Permissions and Registration’ section, I recommend you disable registrations and give the permissions to write and upload only to admins or users. If you later setup git, anyone with the read permission can clone the repository but only users with the permission ‘Attachment management / Upload’ can push to it.
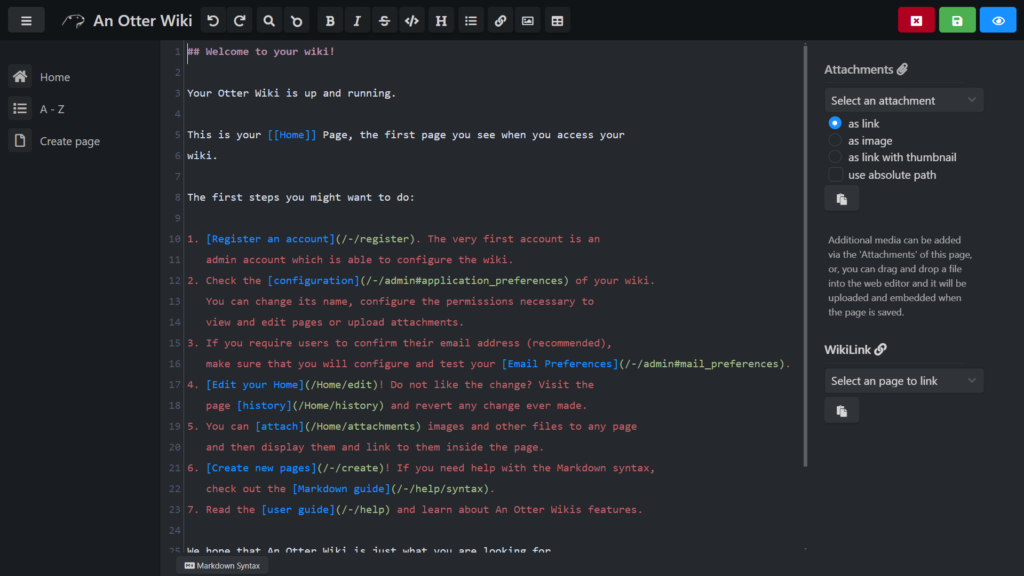
Now going back to the Home page, you can press on the top right, on the pencil, to edit the page in Markdown or add a new one by pressing ‘Create page’ on the sidebar at the left!
And that’s all, thanks for reading and stay tuned for more tech insights and tutorials. Until next time, and keep exploring the world of tech!
