
Shlink is a powerful and self-hosted URL shortener that provides detailed analytics, API access, and QR code generation. Whether you’re managing branded links for marketing campaigns or need a private URL shortener, Shlink offers a robust solution without relying on third-party services.
In this guide, we’ll walk you through deploying Shlink using Docker on Ubuntu 24, ensuring a quick and easy setup. With Docker, you can containerize Shlink, making it easier to deploy, maintain, and scale while keeping dependencies isolated. By the end of this tutorial, you’ll have a fully operational Shlink instance as well as Shlink-Web-UI to manage all your short links.
Start by creating a folder for your app data and, in it, create a file named ‘docker-compose.yml’:
mkdir shlink
cd shlink
nano docker-compose.yml
Copy the configuration below to your file and change the variables at the top of the file. The Geolite license key is optional, but if you provide one, you will get the country from which your users connect. The Shlink server API key will be generated later so you don’t need to change it now.
x-common:
    x-database:
        &db-environment
        MYSQL_PASSWORD: &db-password "CHANGE_ME"
        MYSQL_ROOT_PASSWORD: "CHANGE_ME_TOO"
    x-shlink:
        &shl-environment
        GEOLITE_LICENSE_KEY: "yourlicensehere" # Optional
        DEFAULT_DOMAIN: "yourdomain.example.com"
    x-webui:
        &wui-environment
        SHLINK_SERVER_URL: "http://yourdomain.example.com"
        SHLINK_SERVER_API_KEY: "yourshlinkapihere" # GENERATED LATER
        SHLINK_SERVER_NAME: "yourshlinksvname" # EX: TMVTech_Links

##########################################################

services:
    database:
        image: 'mariadb:11.7'
        restart: unless-stopped
        command: --default-authentication-plugin=mysql_native_password
        environment:
            <<: *db-environment
            MYSQL_DATABASE: "shlink"
            MYSQL_USER: "shlink"
        container_name: shlink-db
        volumes:
            - "./data/database:/var/lib/mysql"
    shlink:
        image: 'shlinkio/shlink:stable'
        restart: unless-stopped
        environment:
            <<: *shl-environment
            DB_USER: "shlink"
            DB_PASSWORD: *db-password
            DB_DRIVER: "mysql"
            DB_HOST: "database"
            IS_HTTPS_ENABLED: true
        ports:
            - '9000:8080'
        container_name: shlink
        depends_on:
            - database
    #webui:
    #    image: 'shlinkio/shlink-web-client:stable'
    #    restart: unless-stopped
    #    environment:
    #        <<: *wui-environment
    #    ports:
    #        - '9001:8080'
    #    container_name: shlink-ui
    #    depends_on:
    #        - shlink
After saving the file (on nano, CTRL+O to save and CTRL+X to exit), run the command below to start your database and Shlink’s containers:
docker compose up -dIf the containers started successfully, run the command below to open a terminal inside the Shlink container:
docker compose exec -it shlink shInside the container, run this command to generate an API key to use in our client:
shlink api-key:generateSave the API key in a safe place and exit the container terminal:
exitNow you need to stop the containers so that we can edit the compose file:
docker compose downRun this command again to edit the ‘docker-compose.yml’ file:
nano docker-compose.ymlAt the top of the file change ‘SHLINK_SERVER_API_KEY’ to the one we just generated:
x-common:
    x-database:
        &db-environment
        MYSQL_PASSWORD: &db-password "CHANGE_ME"
        MYSQL_ROOT_PASSWORD: "CHANGE_ME_TOO"
    x-shlink:
        &shl-environment
        GEOLITE_LICENSE_KEY: "yourlicensehere"
        DEFAULT_DOMAIN: "yourdomain.example.com"
    x-webui:
        &wui-environment
        SHLINK_SERVER_URL: "http://yourdomain.example.com"
        SHLINK_SERVER_API_KEY: "yourshlinkapihere" # PASTE TOKEN HERE
        SHLINK_SERVER_NAME: "yourshlinksvname"
At the bottom of the file, uncomment the webui service, save the file and exit nano:
    webui:
        image: 'shlinkio/shlink-web-client:stable'
        restart: unless-stopped
        environment:
            <<: *wui-environment
        ports:
            - '9001:8080'
        container_name: shlink-ui
        depends_on:
            - shlink
Finally, start your containers again:
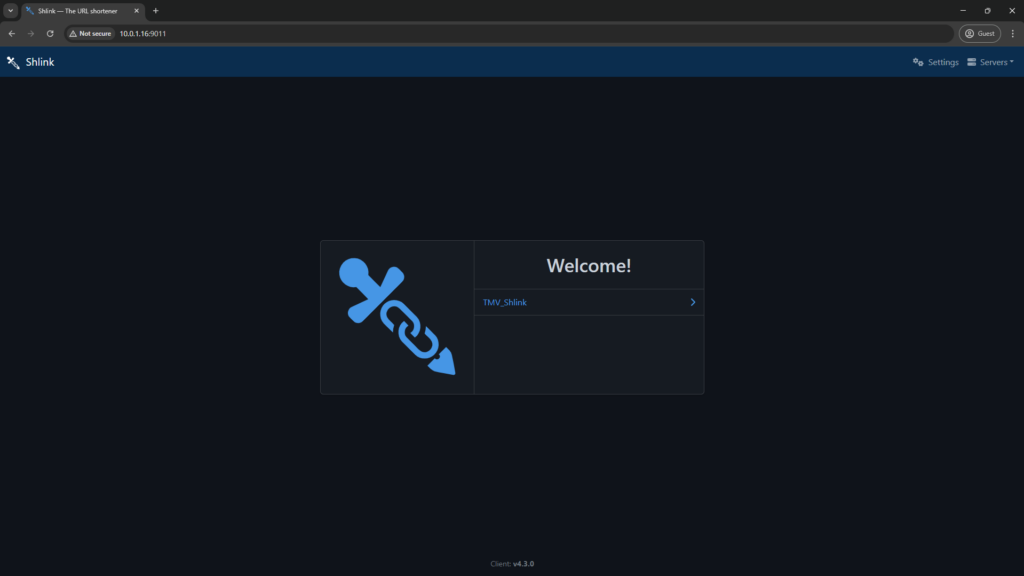
docker compose up -dYou can now access your dashboard at ‘yourip:9001’, once you are there, you should see your server in a list, click on it:
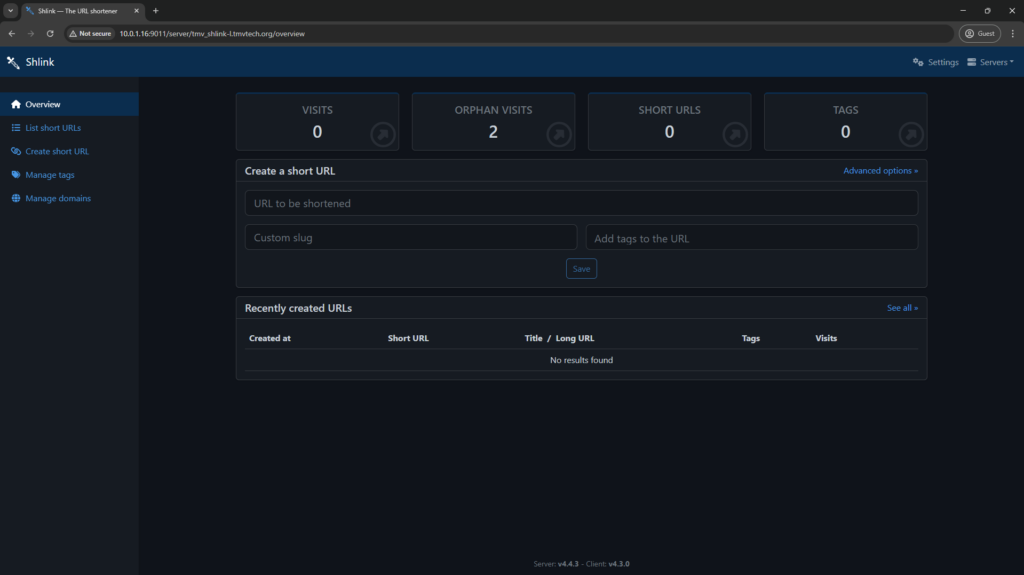
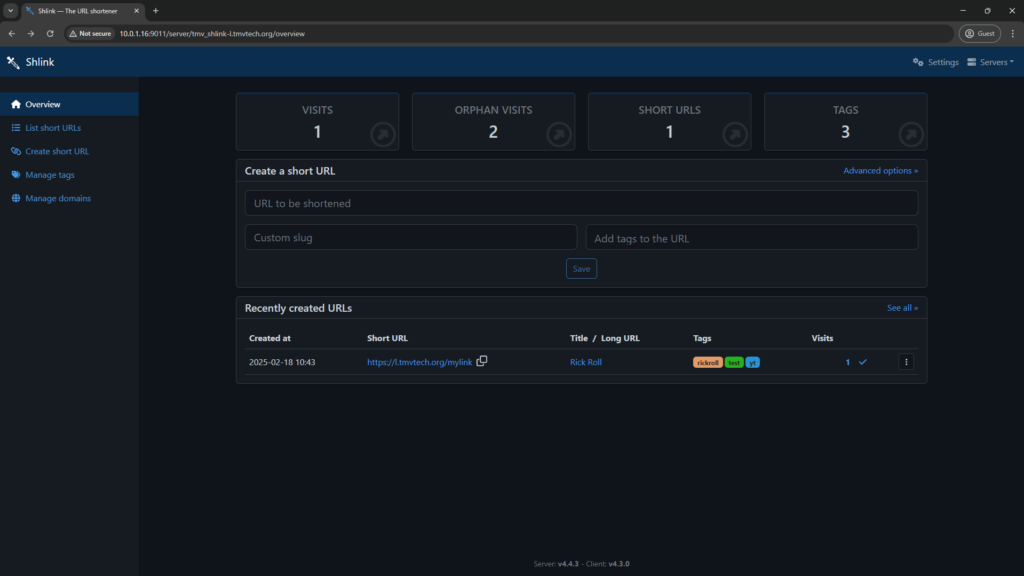
On this dashboard, you get a summary of what is going on with your links. To create your first short link, click on ‘Create short URI’ in the left bar.
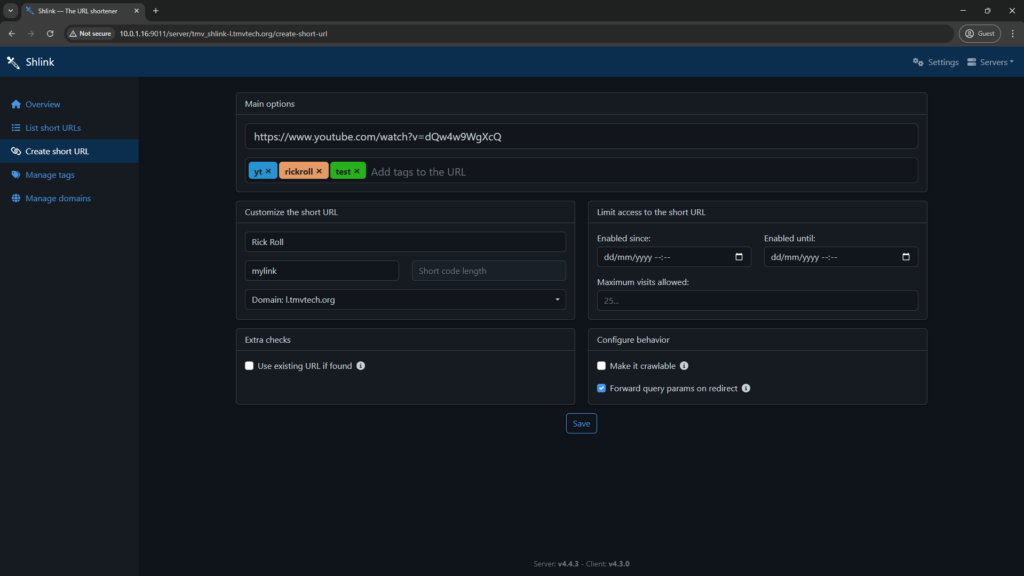
Give it the link, some tags, title and short link. If needed, you can also set a duration so that this link automatically expires.
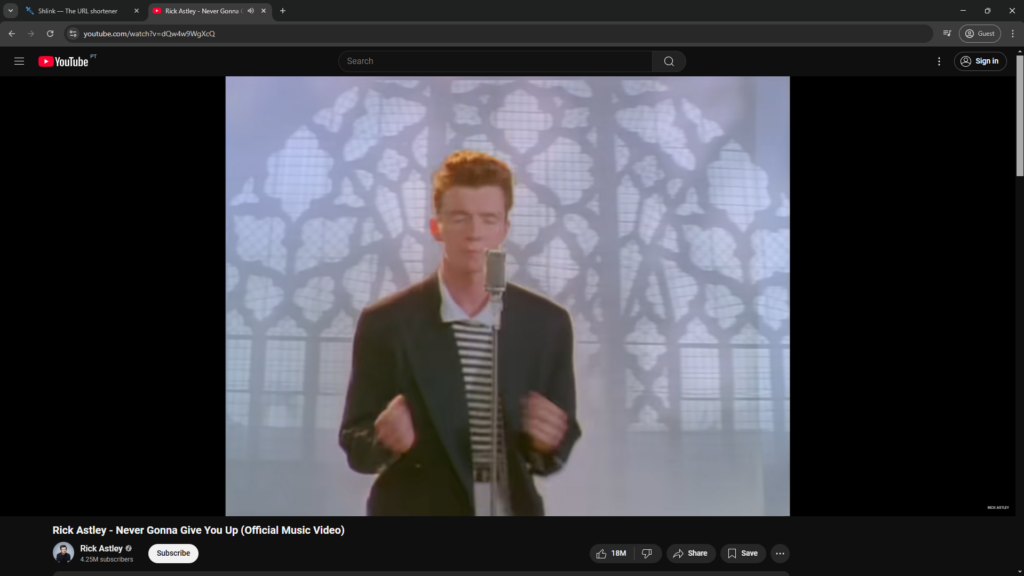
Back to the dashboard, you should now see your link at the bottom. Try clicking on it!

Using your link should automatically redirect you to the URL you set.
You should now have one visit on your new link:
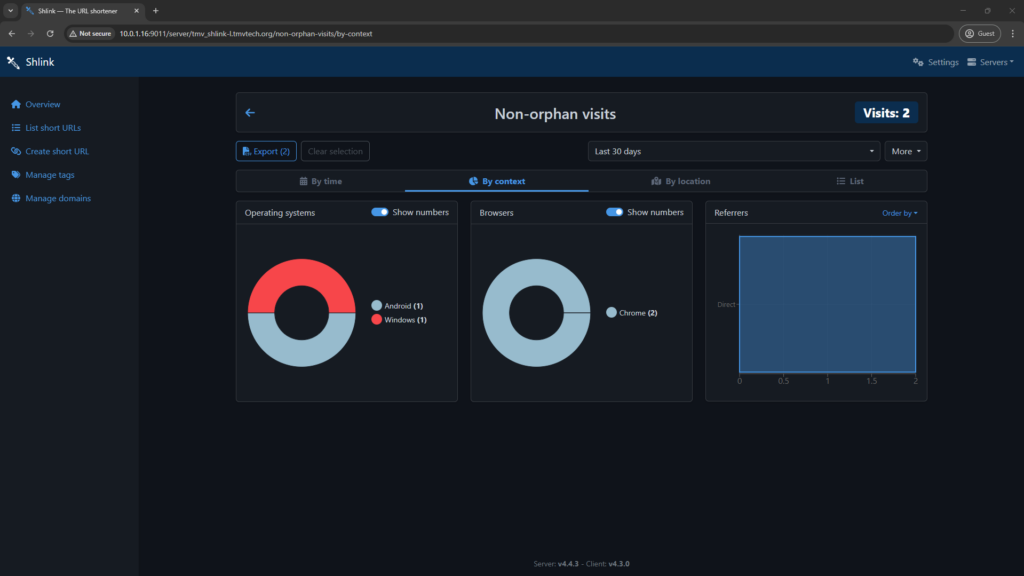
Clicking on the visit count should also give you some stats about your visitors.
3 - Generating QR Codes
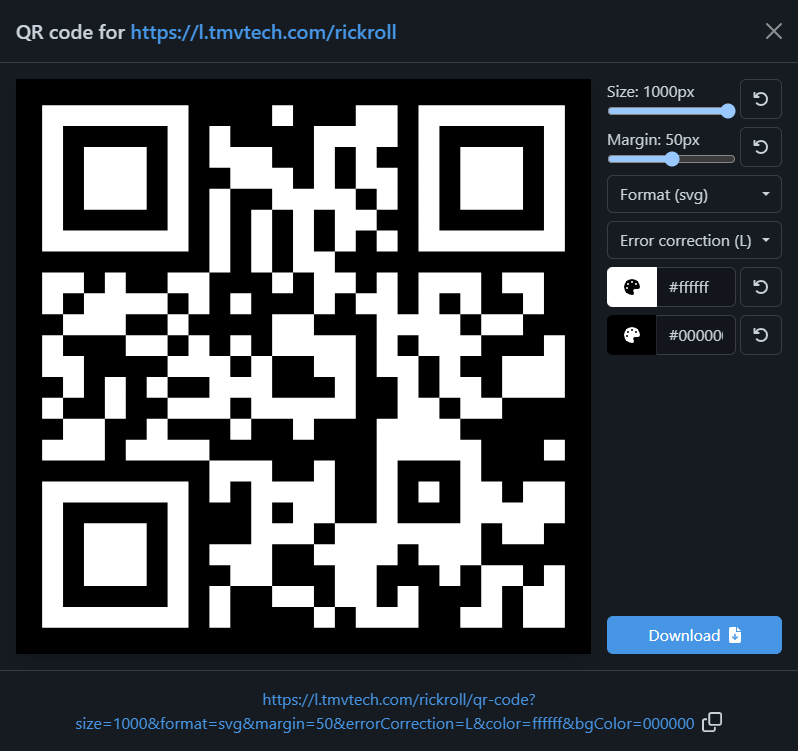
With the Web Client, creating a QR Code is very easy, simply click on the 3 dots icon at the right of one of your short links and click on ‘QR code’:

After changing some of the settings you can then either save the QR Code to your computer, or use it on your website!
The images below are imported using the URL given to us by the QR Code generator above:
And that’s all. Thanks for reading and stay tuned for more tech insights and tutorials. Until next time, and keep exploring the world of tech!