
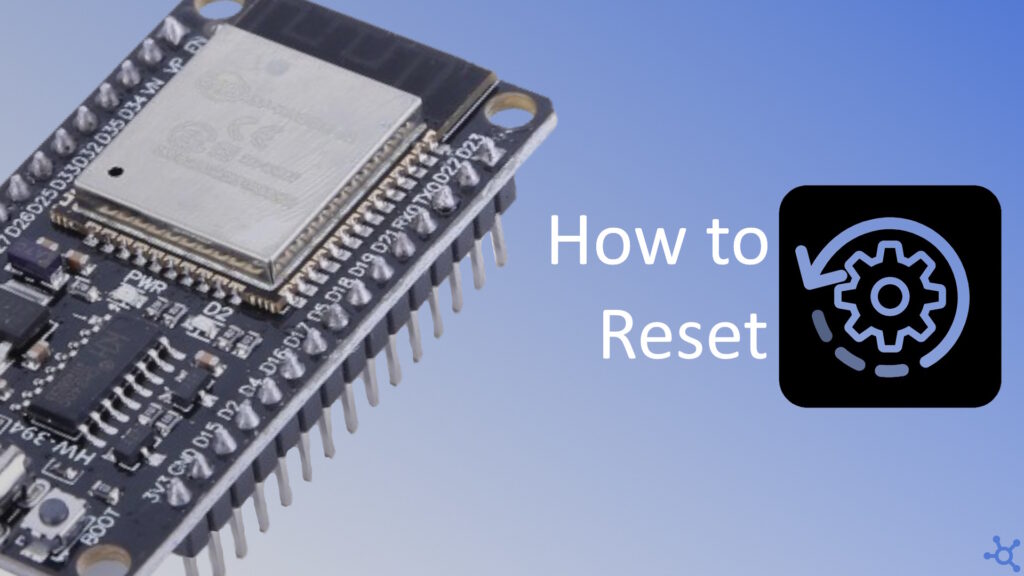
If you’re experiencing issues with your ESP32 or simply want a fresh start, performing a factory reset is a quick and effective solution. In this guide, we’ll walk you through the process using ESPTool, ensuring your device is wiped clean and ready for new projects. If you don’t have an Esp32 yet, get one here.
The first thing we need to do is to get the tools. Using Python‘s Pip, install ESPTool and SetupTools:
pip install esptool
pip install setuptools
If the commands above either do not work or give you errors, try to install the packages this way:
python3 -m pip install esptool
python3 -m pip install setuptools
With everything installed, you will need to write this onto your terminal but don’t send it yet:
python -m esptool --chip esp32 erase_flashOn your Esp (plugged into your PC) hold the BOOT or FLASH button, and only then, hit enter on the terminal.
You should get an output like the one below, and after that, your Esp is as good as new, no code, no data.
C:\Users\user>python -m esptool --chip esp32 erase_flash
esptool.py v4.8.1
Found 3 serial ports
Serial port COM6
Connecting...........
Chip is ESP32-D0WD-V3 (revision v3.1)
Features: WiFi, BT, Dual Core, 240MHz, VRef calibration in efuse, Coding Scheme None
Crystal is 40MHz
MAC: e4:65:b8:ae:24:94
Uploading stub...
Running stub...
Stub running...
Erasing flash (this may take a while)...
Chip erase completed successfully in 2.6s
Hard resetting via RTS pin...
And that’s it, couldn’t be simpler. Thanks for reading, and stay tuned for more tech insights and tutorials. Until next time, and keep exploring the world of tech!