
0 - Introduction
Keeping your ESP32 projects up to date without physically connecting your board can save time and effort. In this tutorial, we’ll explore how to implement Over-the-Air (OTA) updates using the ElegantOTA library and an Async Web Server. You’ll learn how to set up your environment, write the necessary code, and seamlessly update your firmware via a web interface. Whether you’re a hobbyist or a professional, this guide will help you streamline your ESP32 development workflow.
1 - Setup
If you don’t have an Esp32, you can get one here, you can also check its review on this article.
Start by creating a folder for your project and, in it, create a file named ‘platformio.ini’ and paste the configuration below:
mkdir esp32-ota
cd esp32-ota
nano platformio.ini
[env:nodemcu-32s]
platform = espressif32
board = nodemcu-32s
framework = arduino
lib_deps = ayushsharma82/ElegantOTA@^3.1.6
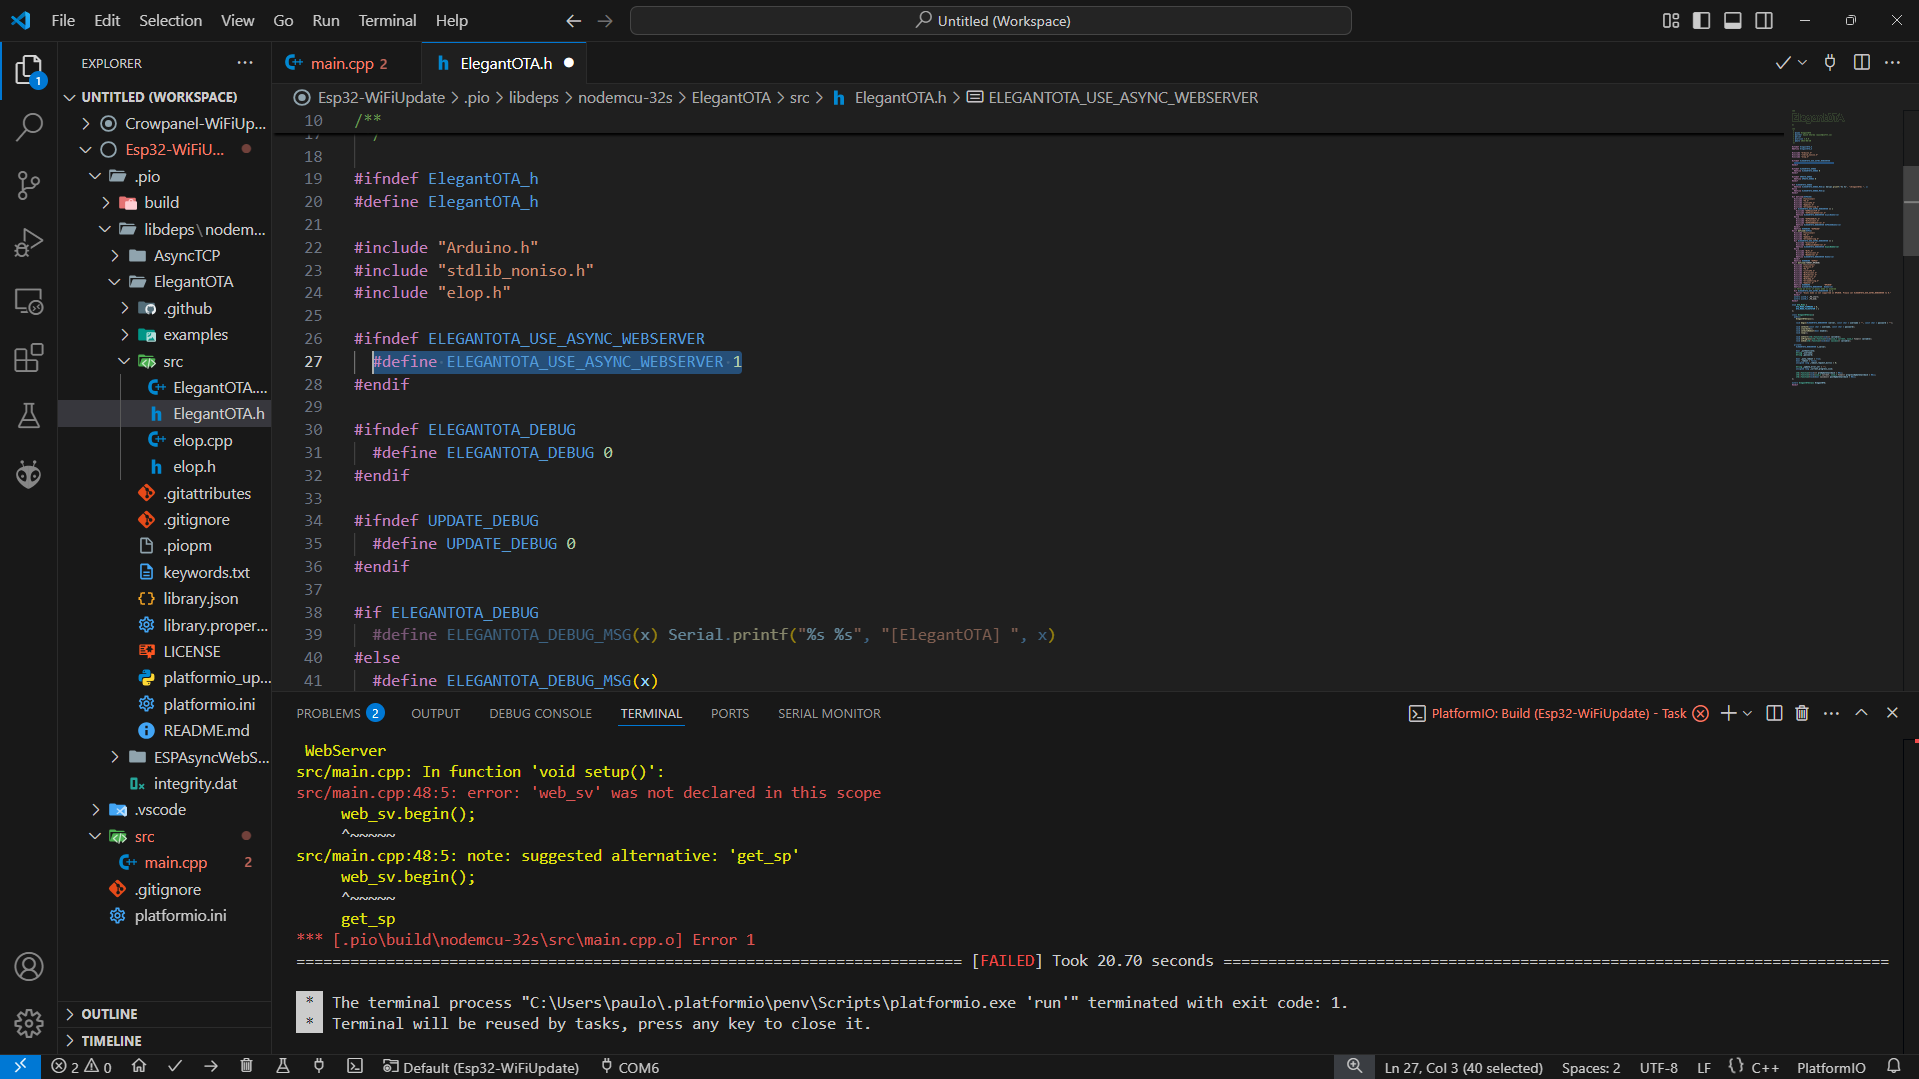
On this article, we want to use the ‘AsyncWebServer’, and to use it we need to change one thing in the libraries source code, we need to go to Elegant OTA’s header file and set ‘Use Async Web Server’ to true (1):
2 - Code
Let’s now start coding. We will need to include 3 header files, the first one being, of course, the ‘Arduino.h’ header, followed by ‘WiFi.h’ to allow us to connect to our home network and finally ‘ElegantOTA.h’, the library that allows us to upload code without plugging in the ESP.
#include <Arduino.h>
#include <WiFi.h>       // Used to connect to a network
#include <ElegantOTA.h> // Used to host the update webpage
Our program will need some credentials, both for the Wi-Fi network it will connect to, and also for when it asks for authentication before allowing uploads. Besides the credentials, we will also host a web server in port 80 (default for HTTP):
// WiFi creds
String wifi_ssid = "jpmv2020-Lptp";
String wifi_pass = "qwertyuiop";
// Update
AsyncWebServer web_sv(80); // Web server used for updates
String updt_user = "user";
String updt_pass = "pass";
The function to connect to the Wi-Fi network is next. This function is code recycled from a previous project which you can find in this article:
// Connects to WiFi
bool wifi_connect()
{
    // Connect
    WiFi.begin(wifi_ssid, wifi_pass);
    Serial.printf("WiFi: Connecting to %s", wifi_ssid);
    while (WiFi.status() != WL_CONNECTED) // Wait until connected
    {
        Serial.print('.');
        vTaskDelay(100 / portTICK_PERIOD_MS);
        // Waited for 15 secs and no connection?
        if (millis() > 15000)
        {
            Serial.println("WiFi: Failed to connect (Timeout)");
            return false;
        }
    }
    Serial.printf("\nWiFi: Connected to %s (%s)\n", wifi_ssid, WiFi.localIP().toString().c_str());
    return true;
}
On loop, we only need to run the loop function of the Updater:
void loop()
{
    // ota loop
    ElegantOTA.loop();
}
Finally, on setup, connect to Wi-Fi, start the Web Server and then start the Updater:
void setup()
{
    Serial.begin(115200);

    // Connect to WiFi
    if (!wifi_connect())
    {
        Serial.println("Can't connect to WiFi, rebooting...");
        vTaskDelay(5000 / portTICK_PERIOD_MS);
        ESP.restart();
    }

    // Begin webserver and ota
    web_sv.begin();
    ElegantOTA.begin(&web_sv, updt_user.c_str(), updt_pass.c_str());
}
And that’s it. That’s the only code you need to run Over the Air updates!
3 - Example
Let’s add some simple code to test if everything is working. In the setup function, let’s set our LED pin as output:
void setup()
{
    // ...

    // Set led pin as output
    pinMode(LED_BUILTIN, OUTPUT);
}
Outside the loop function, create a boolean that will keep track of our LED’s state. Inside loop, let’s flip the LED state, write it and wait one second:
bool ledState = false;
void loop()
{
    // ota loop
    ElegantOTA.loop();

    // Flip LED state
    ledState = !ledState;
    digitalWrite(LED_BUILTIN, ledState);
    vTaskDelay(1000 / portTICK_PERIOD_MS);
}
This is how your Esp should look like:
Now change the delay from one second to 100 milliseconds:
bool ledState = false;
void loop()
{
    // ota loop
    ElegantOTA.loop();

    // Flip LED state
    ledState = !ledState;
    digitalWrite(LED_BUILTIN, ledState);
    vTaskDelay(100 / portTICK_PERIOD_MS);
}
Then instead of uploading your code, just build it. Take the ‘firmware.bin’ file inside the folder ‘.pio/build/nodemcu-32s’.
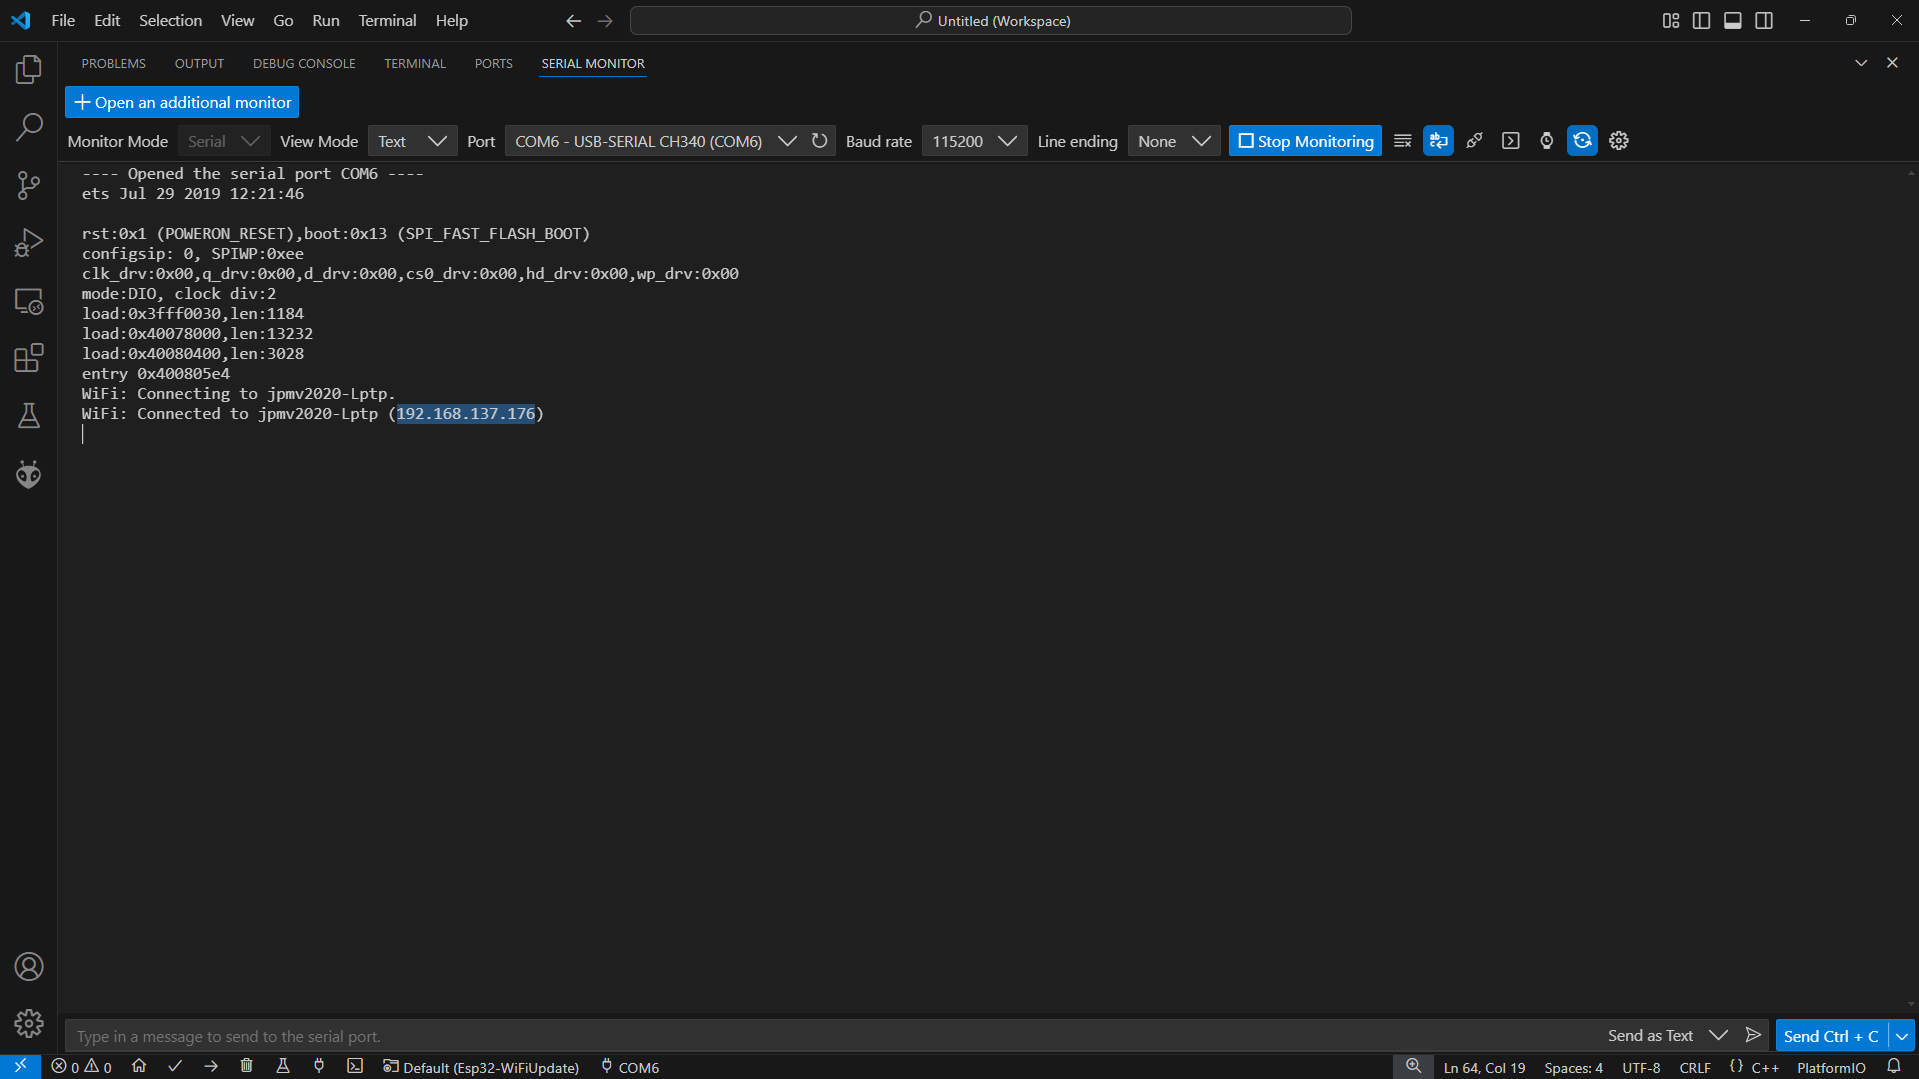
Using a browser, type the following address:
http://<yourEspIp>/updateYou can get your ESP’s IP by checking the Serial Monitor while the ESP is turning on:
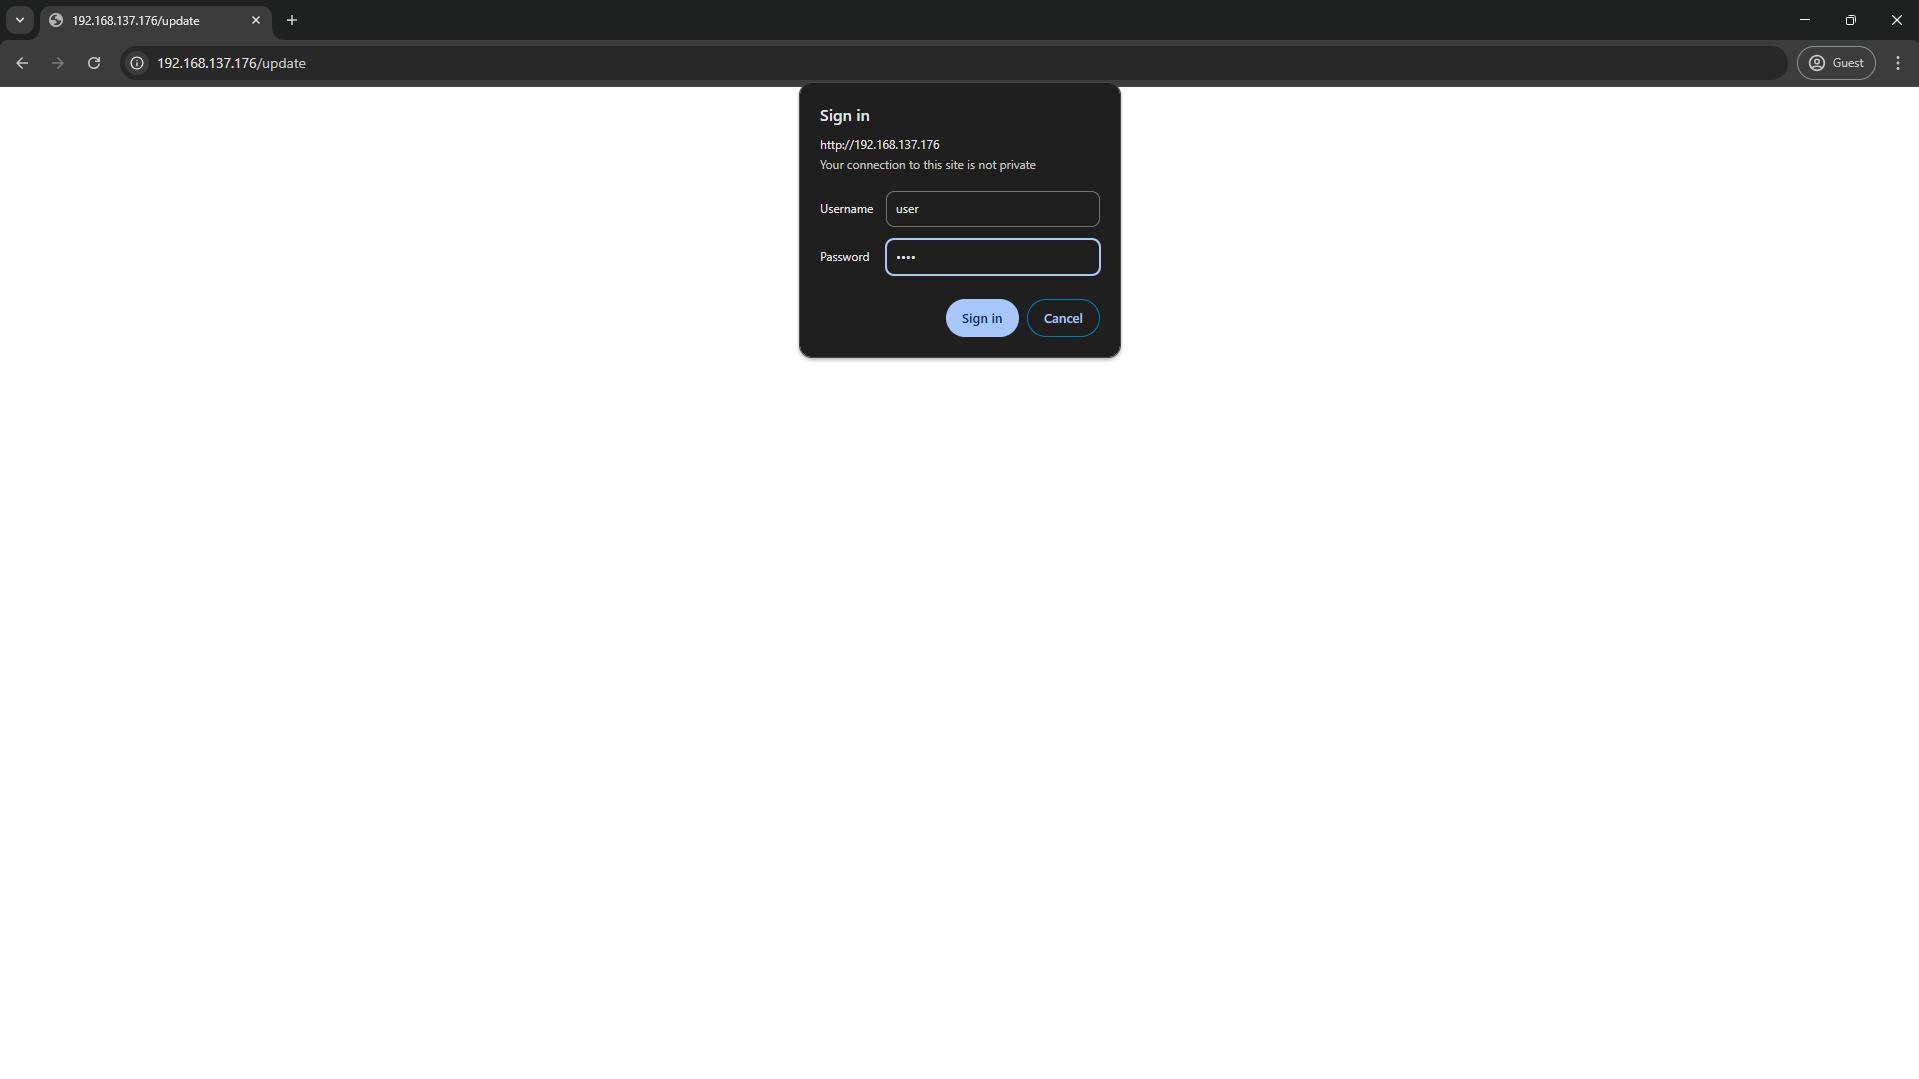
After typing the URL, you will be prompted to log in, use the credentials you entered in the code and click on ‘Sign In’:
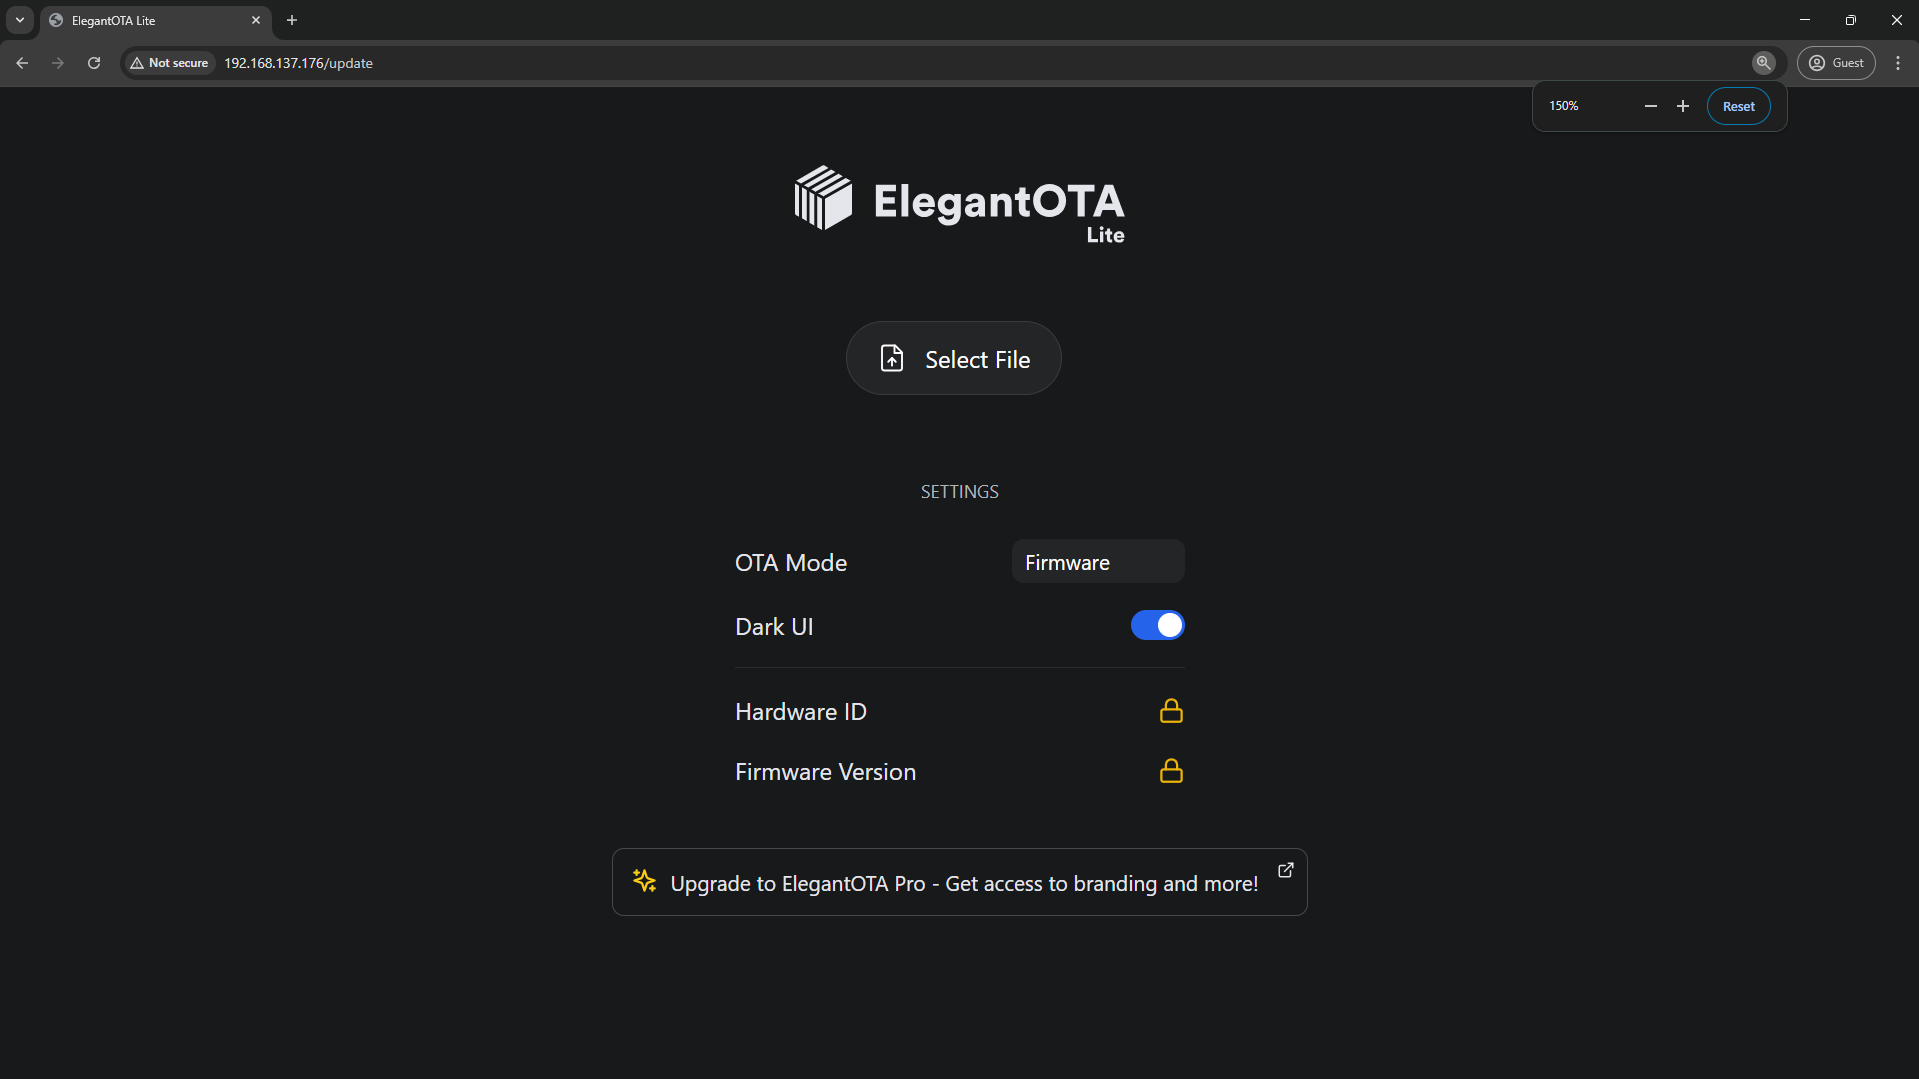
You will then be prompted with this good-looking page. Make sure the ‘OTA Mode’ is set to ‘Firmware’, then press the ‘Select File’ button and upload your ‘firmware.bin’:
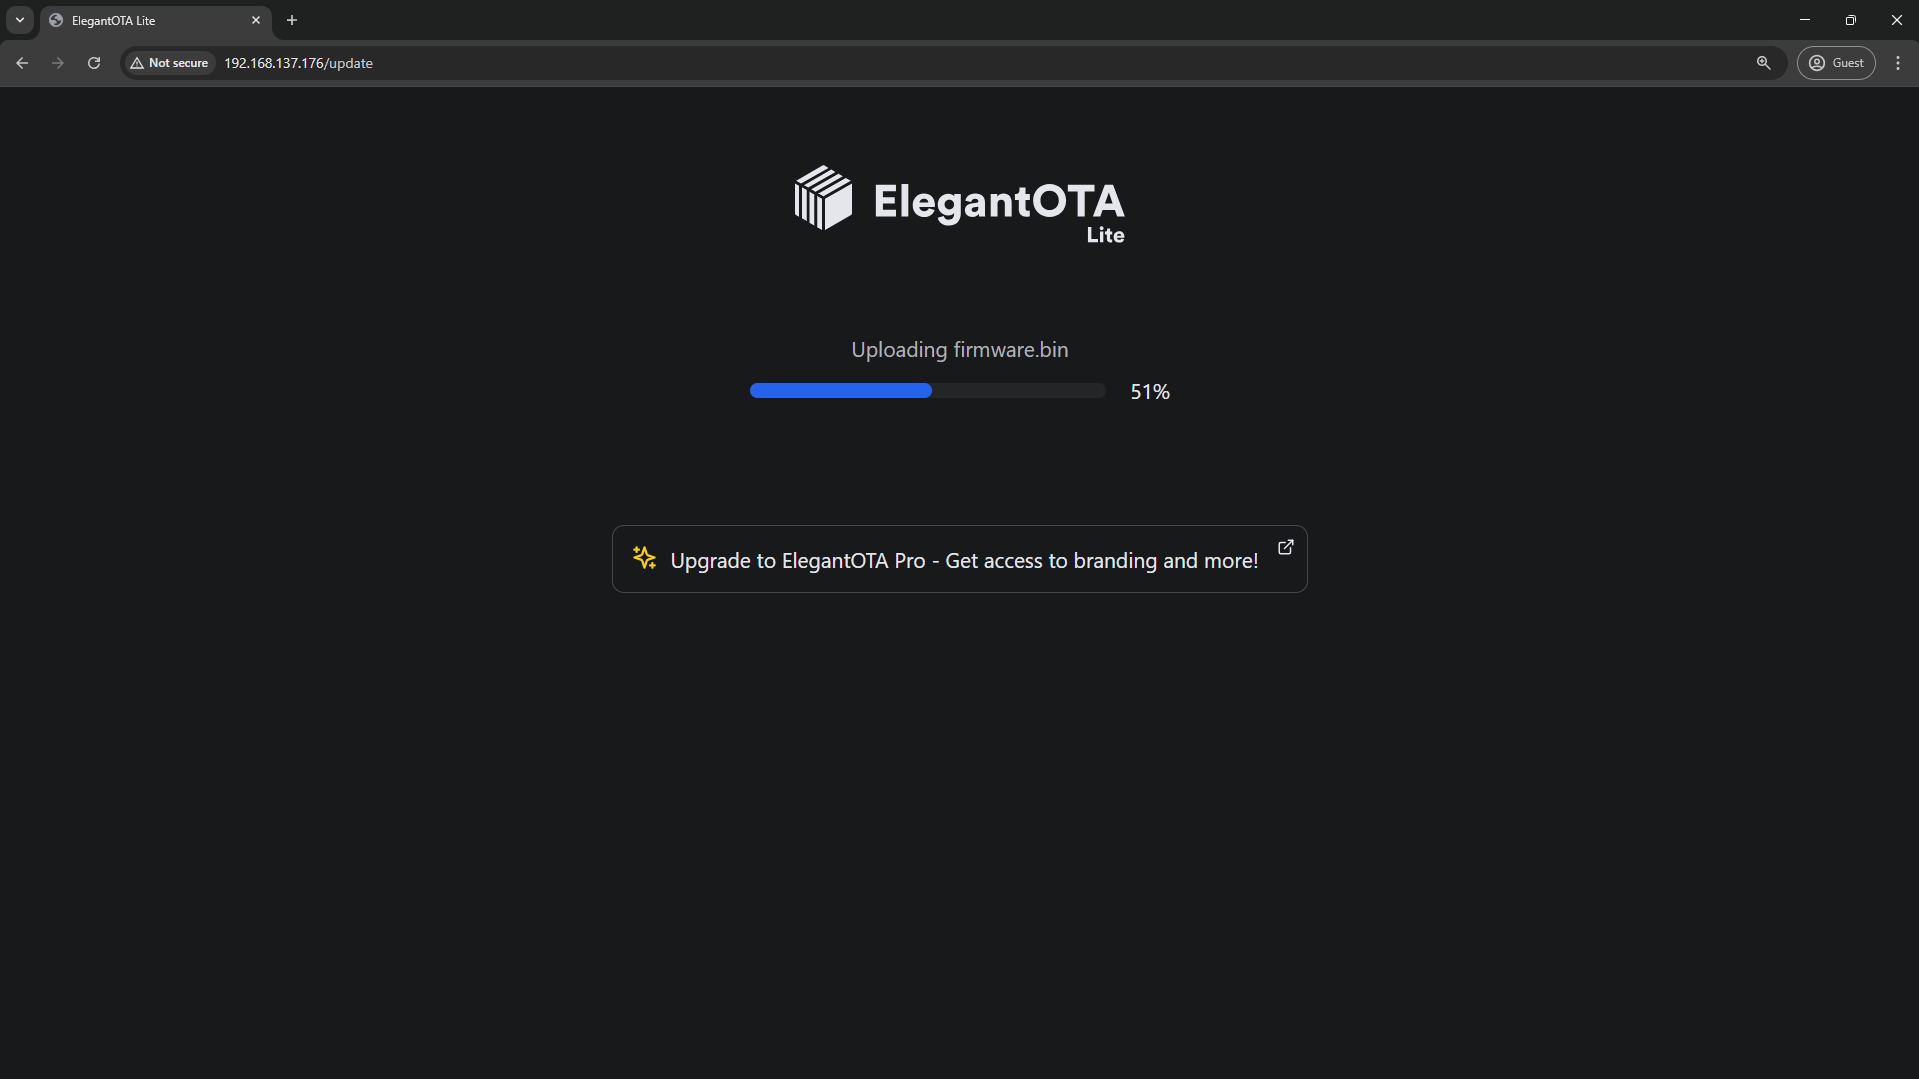
The upload process can take a while, but if your code is small, at most 10 seconds should be enough to get it done:
After the update is complete, your ESP will automatically restart and start running the new code!

In the video below, you can see how the ESP’s LED blinks after updating it’s firmware:
And that’s it! You should now be able to add Over the Air updates to your next project!
Thanks for reading and stay tuned for more tech insights and tutorials. Until next time, and keep exploring the world of tech!