Creating a documentation website doesn’t have to be expensive or complicated. With Jekyll and GitHub Pages, you can set up a professional-looking docs site for free, with zero hosting costs. Whether you’re documenting an open-source project, a personal tool, or internal guides, this setup provides an easy way to publish and maintain content. In this article, we’ll walk you through the process of getting started, from installation to deployment.
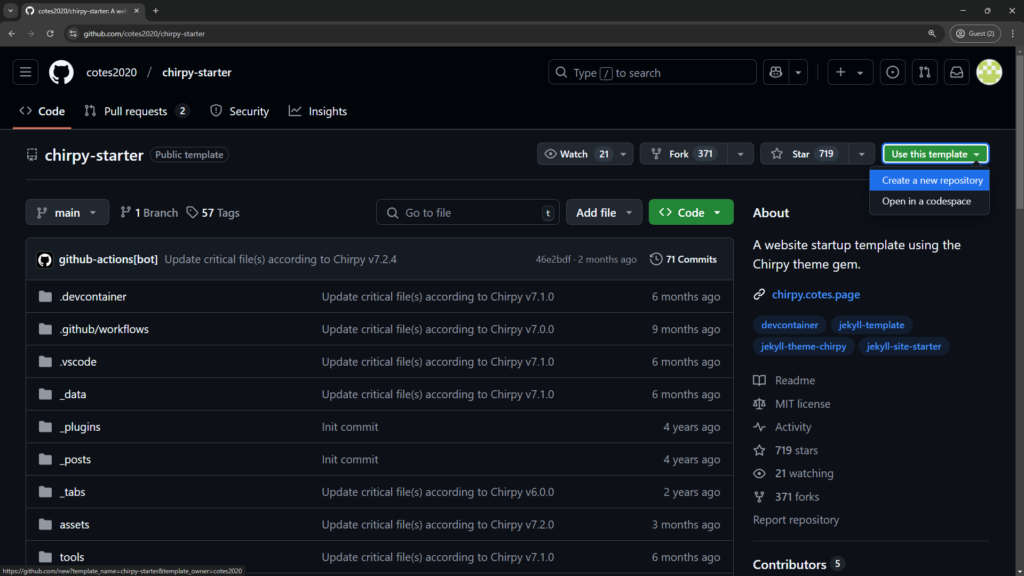
The first step we need to do is to create a new repository in GitHub using the ‘chirpy-starter’ template. You can do this by clicking on the image below, then on the top right you will see a button with the text ‘Use this template’, click on it, and ‘Create new repository’.
For the GitHub pages to be set up automatically, this repository will have to be named in a specific way. It should be ‘username.github.io’, if we take my test account as an example, it should be named ‘tmvtech2.github.io’.
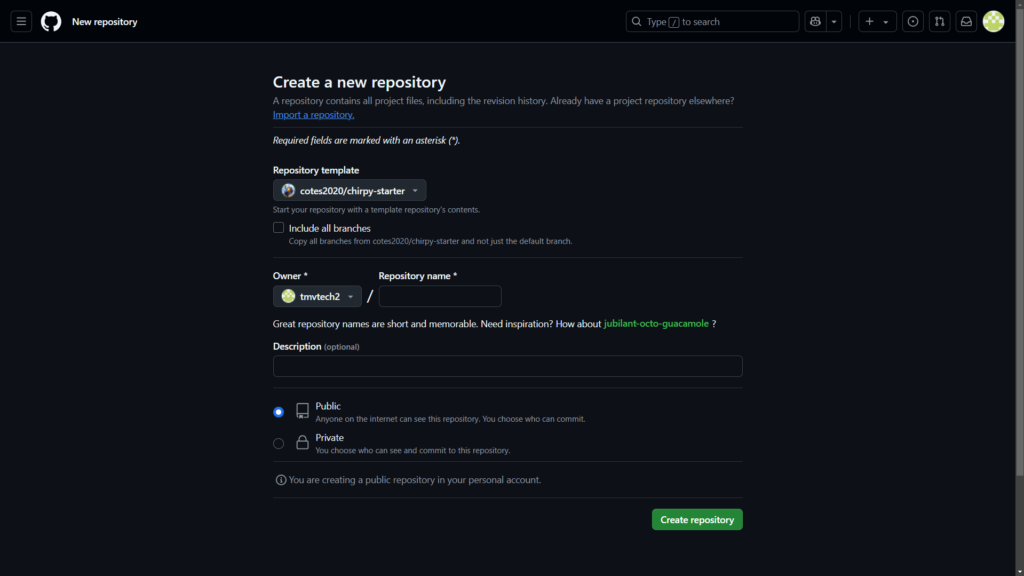
Once your repository is created, we now need to edit some stuff in it. Clone your repository locally and open it with VS Code:
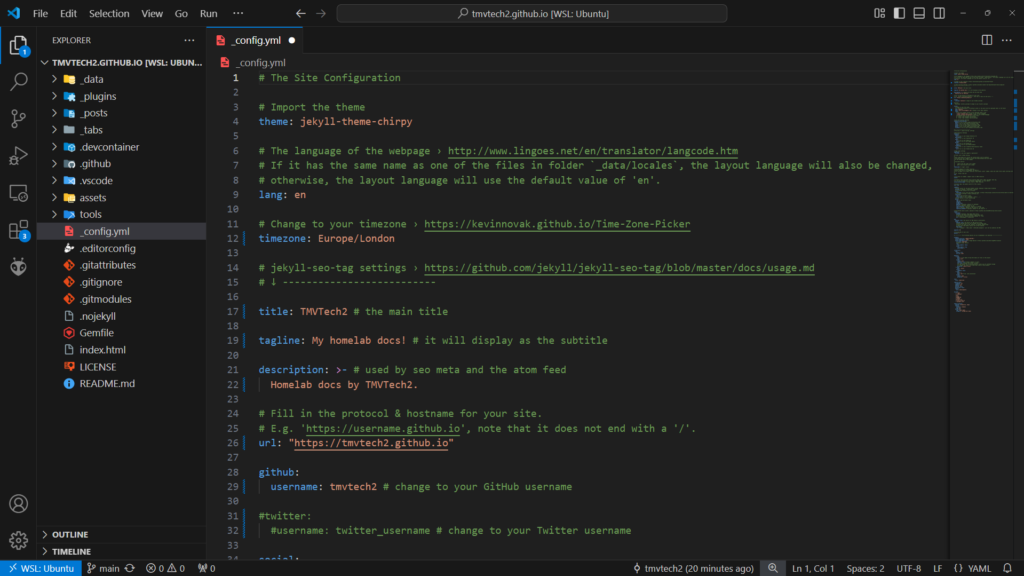
git clone https://github.com/tmvtech2/tmvtech2.github.io.gitcd tmvtech2.github.iocode .On your local repo, open the ‘_config.yml’ file and change everything you might need to. Timezone, title, URL, your socials, everything you see that you would like to use, change it:
Then save your file and go to the ‘_posts’ folder. This is where we will add our posts, but to do so we need to follow a naming scheme:
year-month-day-title.md
# example:
2025-02-25-hello.md
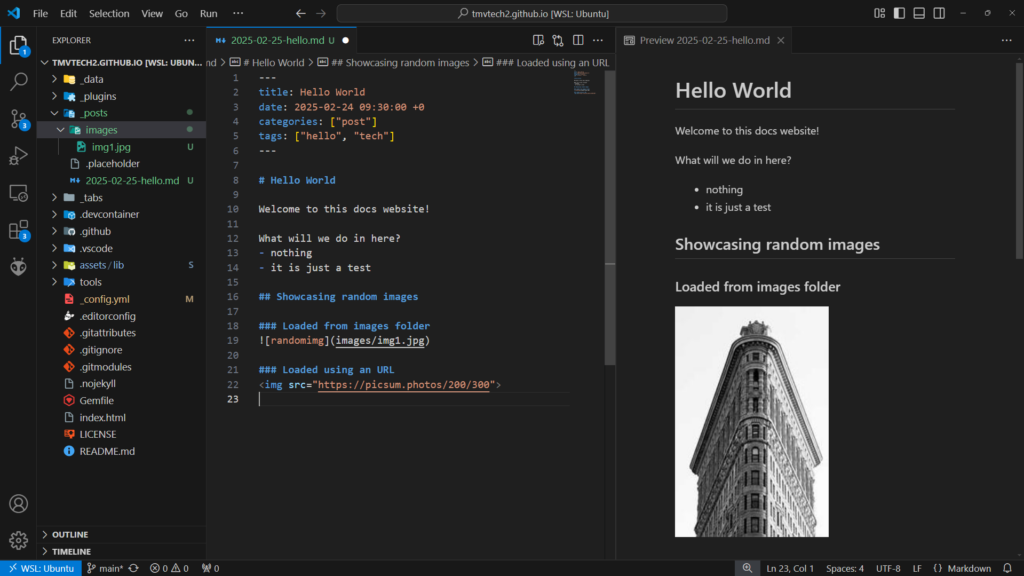
With your new file created, at the top of it, you will need to include an header like this:
---
title: Hello World
date: 2025-02-24 09:30:00 +0
categories: ["post"]
tags: ["hello", "tech"]
---
On VS Code, you can also preview how your page will look while you are writing it! In the top right corner of your file you will see an icon with a spy glass, click it and the preview should open.
Once you are ready to publish your new post, we will need to make a commit. Go to the Git tab and log in to your GitHub account. Then add all files to the commit, give it a message, commit and sync changes:
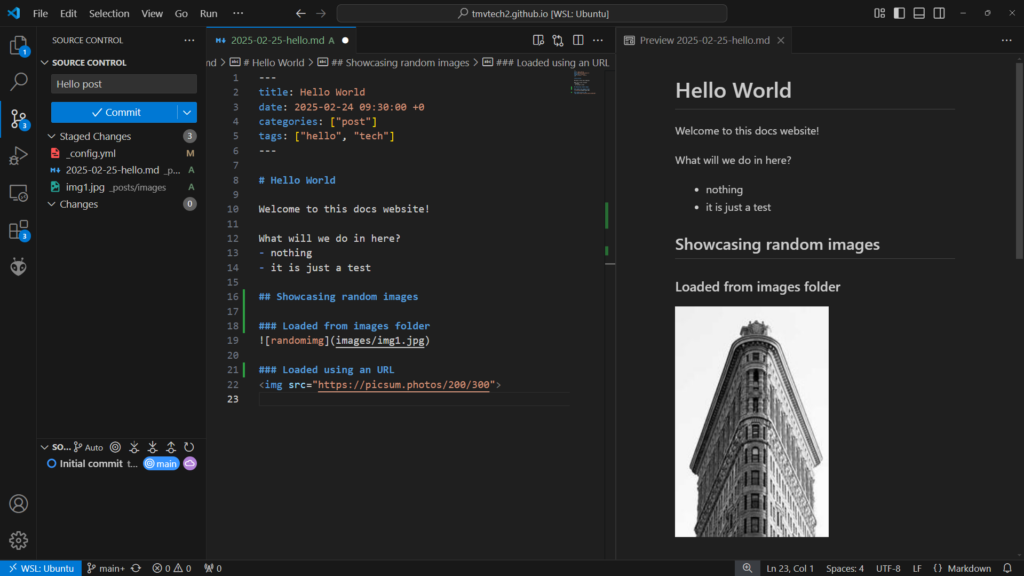
If you get an error telling neither the email nor username are set, you will need to run these commands:
git config user.email "geral.tmvtech@gmail.com" # Change to your email
git config user.name "TMVTech2" # Change to your username
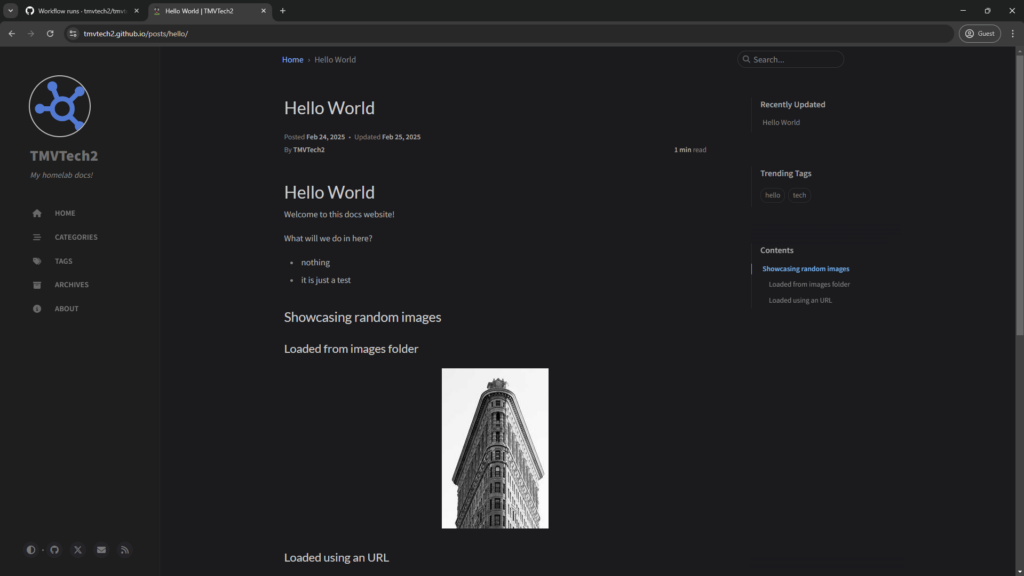
On your GitHub Actions tab, you should see the pages being built. After waiting about 2 minutes, you can then access your brand new website!
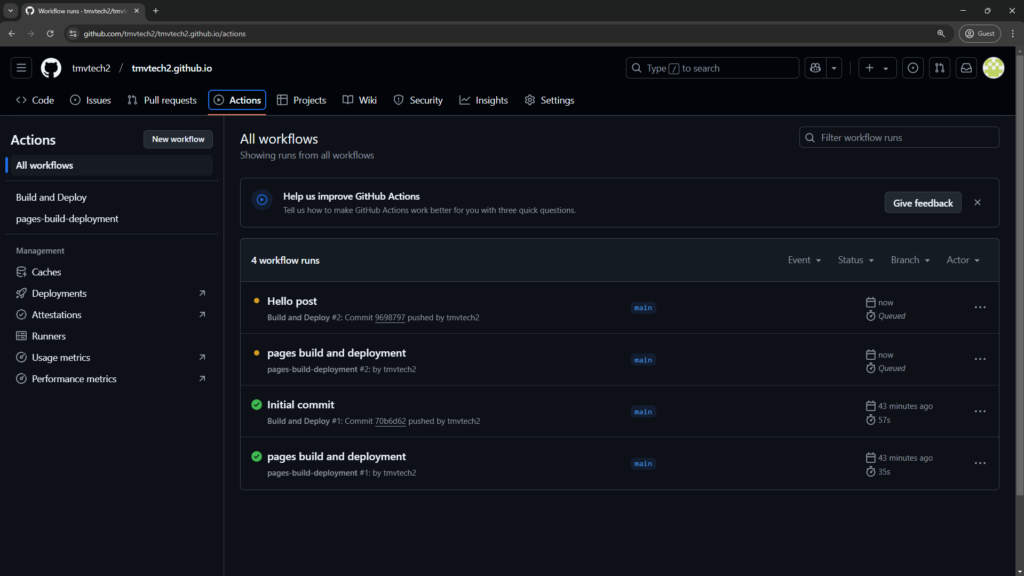
And that’s it, if you now go to your pages, you should see your new website up and running:
Thanks for reading and stay tuned for more tech insights and tutorials. Until next time, and keep exploring the world of tech!

