Setting up your own self-hosted Git service can be a game-changer for managing your projects, and Gitea makes it simple and lightweight, perfect for a Raspberry Pi. In this tutorial, we’ll walk you through the steps to install and configure Gitea using Docker, ensuring a smooth setup for your code repositories. Whether you’re a developer looking for more control over your versioning or just exploring new Raspberry Pi projects, this guide will help you get started quickly.
If you don’t have a Raspberry Pi yet, check our review of the Pi 5. If you do have one already but still haven’t installed docker, check this article.
Start by making a folder for Gitea, in it, create a docker compose file and edit it:
mkdir gitea
cd gitea
nano docker-compose.yml
In that file, we set the volumes, ports, user and group IDs that Gitea will use:
services:
  gitea:
    image: gitea/gitea:latest
    container_name: gitea
    environment:
      - USER_UID=1000
      - USER_GID=1000
    restart: always
    volumes:
      - ./data:/data
      - /etc/timezone:/etc/timezone:ro
      - /etc/localtime:/etc/localtime:ro
    ports:
      - "3000:3000" # HTTP
      - "3001:22"   # SSH
After saving the file (CTRL+O to save and CTRL+X to exit if using nano), run the command following to start your container:
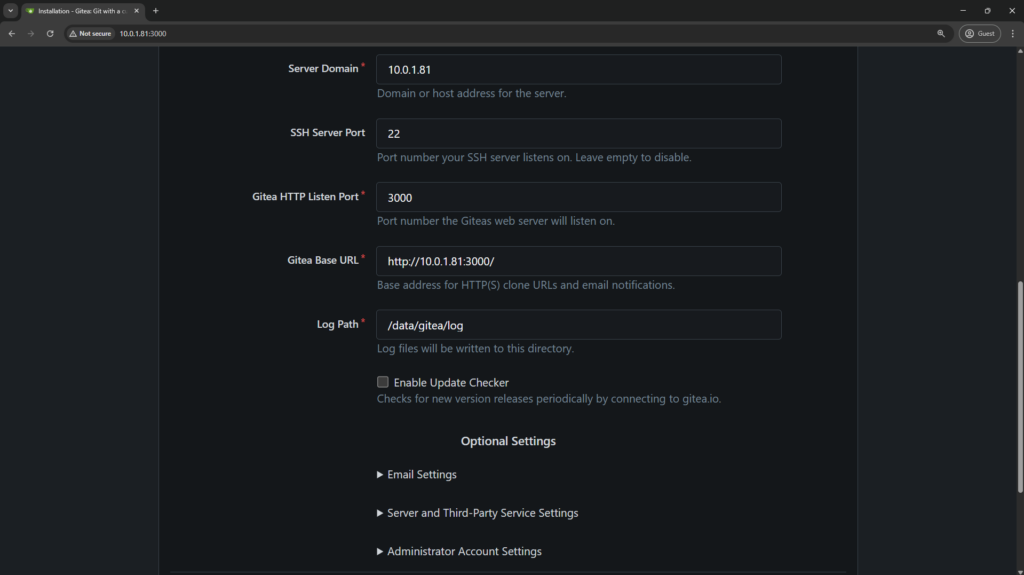
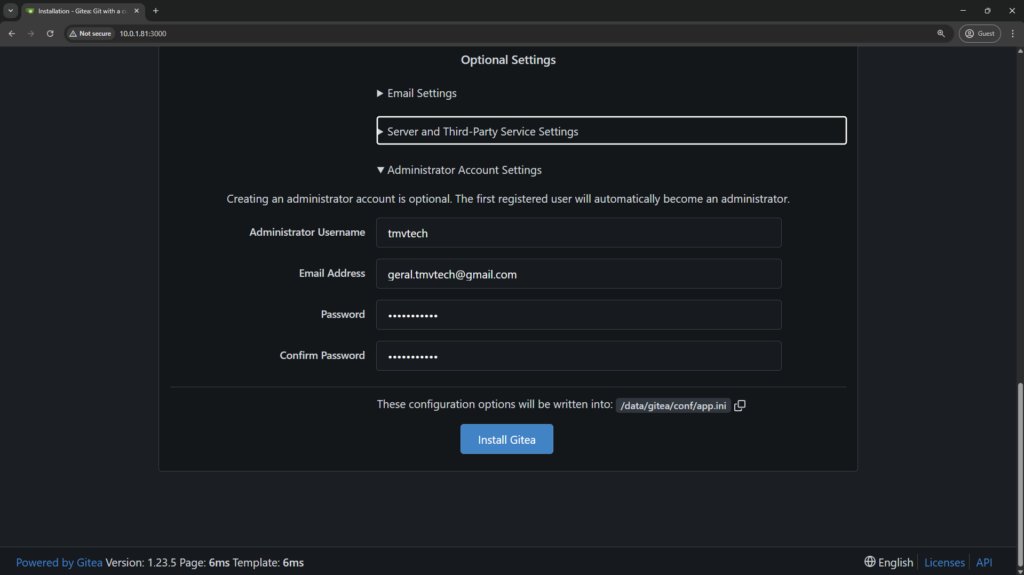
docker compose up -dAs soon as the container starts up, you should be able to access Gitea on your browser by going to:
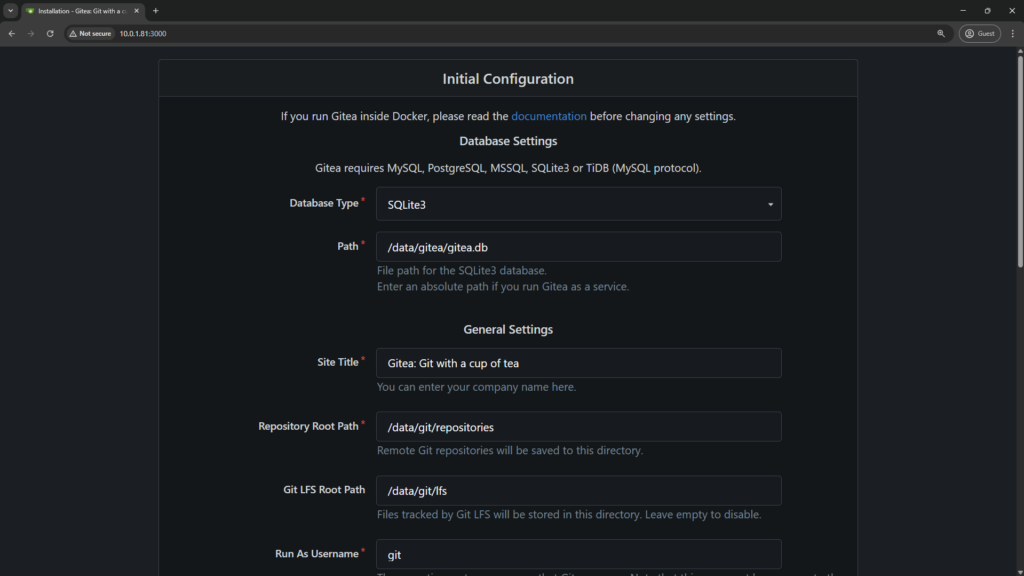
http://yourPIip:3000After the container starts up, you should be able to access Gitea on your browser by going to:
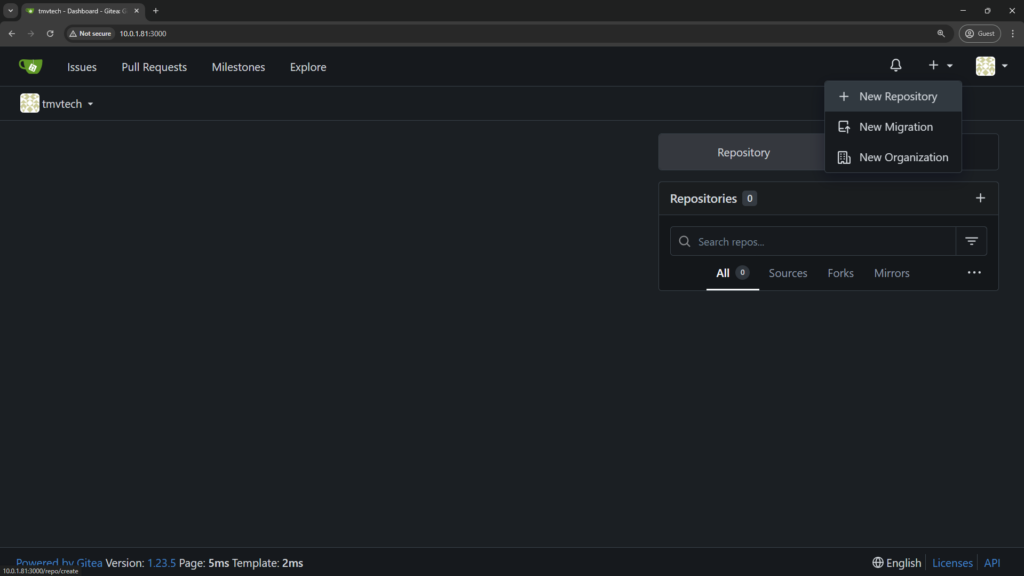
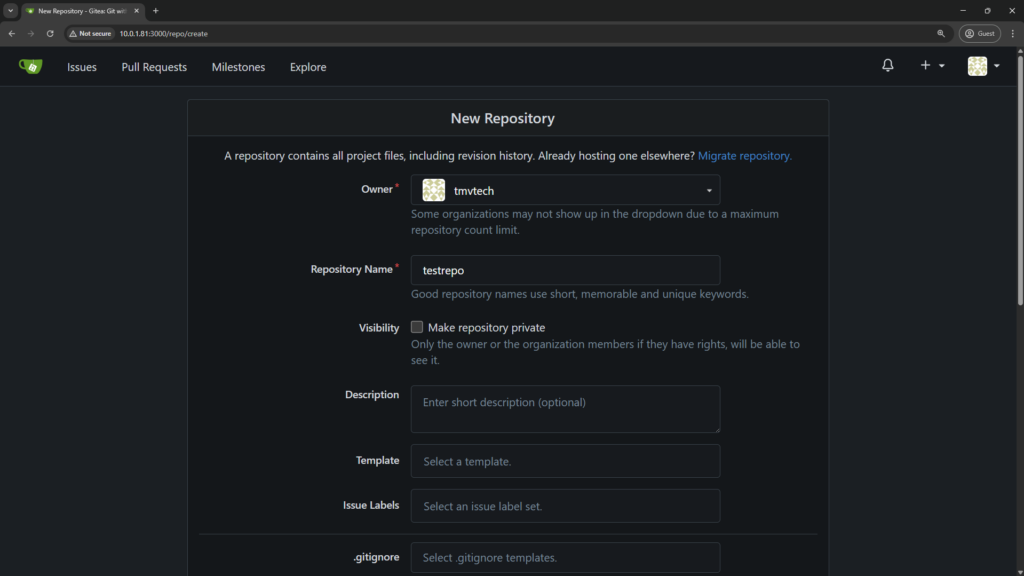
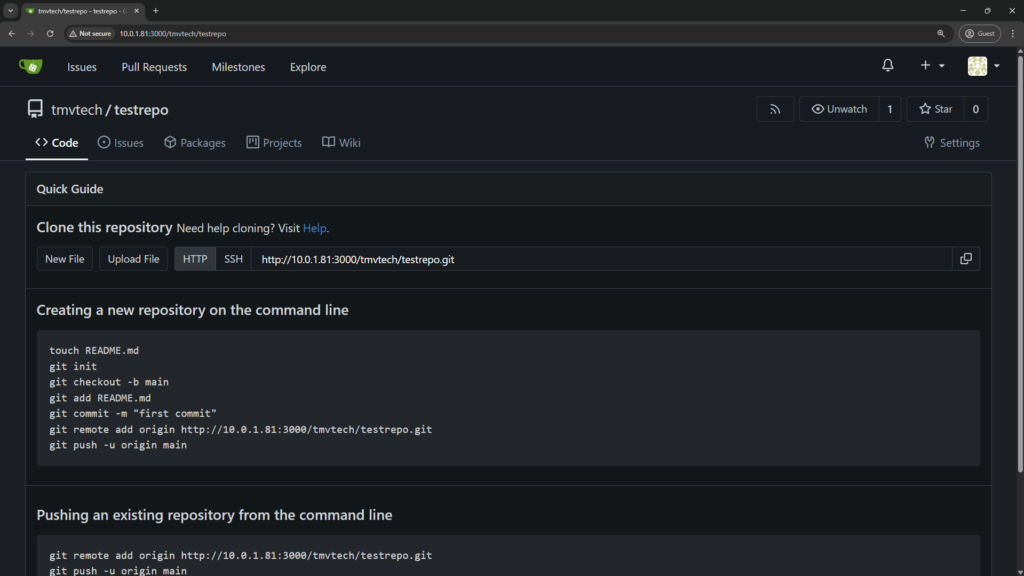
We will now go back to the home page of Gitea and create our first repo:
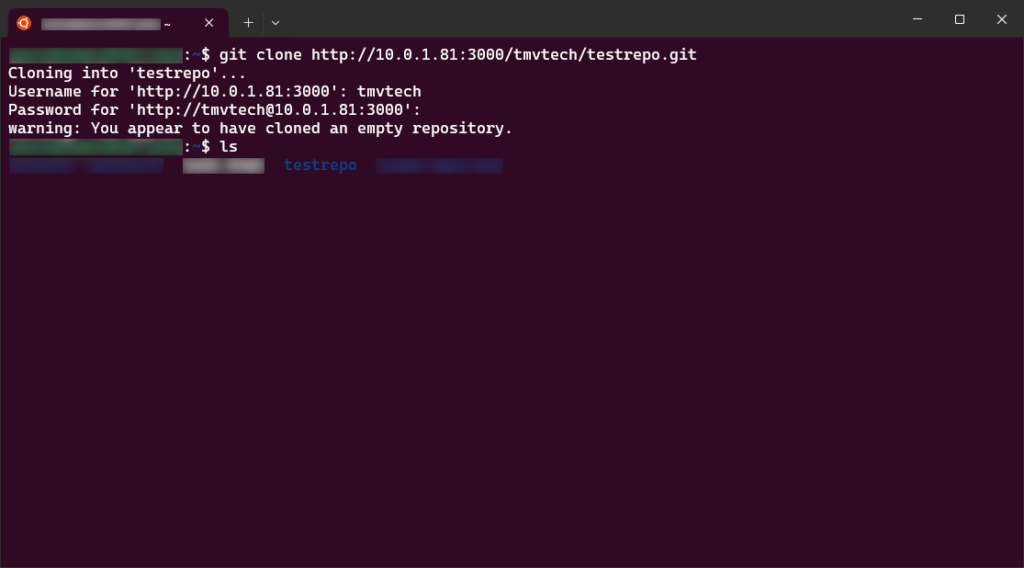
On your terminal you can then run:
git clone http://yourPIip/tmvtech/testrepo.gitYou should be asked for a username and password, use the ones use to login into Gitea:
If you don’t get any errors, go into the repo’s folder and create a file named ‘README.md’:
cd testrepo
nano README.md
I will use the template available at makeareadme.com:
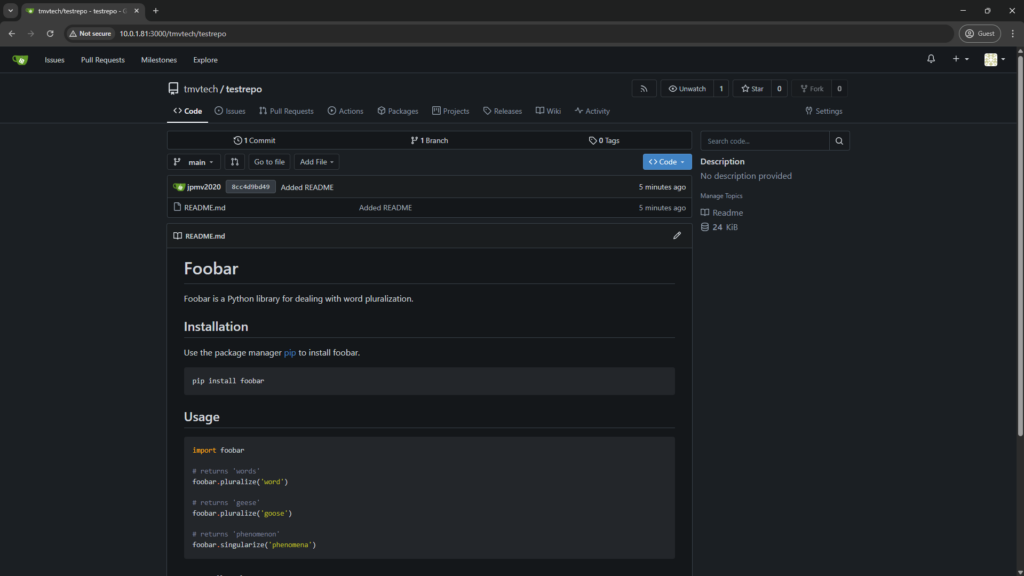
# Foobar

Foobar is a Python library for dealing with word pluralization.

## Installation

Use the package manager [pip](https://pip.pypa.io/en/stable/) to install foobar.

```bash
pip install foobar
```

## Usage

```python
import foobar

# returns 'words'
foobar.pluralize('word')

# returns 'geese'
foobar.pluralize('goose')

# returns 'phenomenon'
foobar.singularize('phenomena')
```

## Contributing

Pull requests are welcome. For major changes, please open an issue first
to discuss what you would like to change.

Please make sure to update tests as appropriate.

## License

[MIT](https://choosealicense.com/licenses/mit/)
We then need to add the file to git by running:
git add README.md
To see which files are added to your next commit, which ones changed or were deleted, you can also run:
git statusAfter adding the file and double checking that everything is ready, you can then make a commit. Using the ‘-m’ argument we can give the commit a message. If you don’t provide one, your chosen text editor will open (by default, nano) and you can write it there.
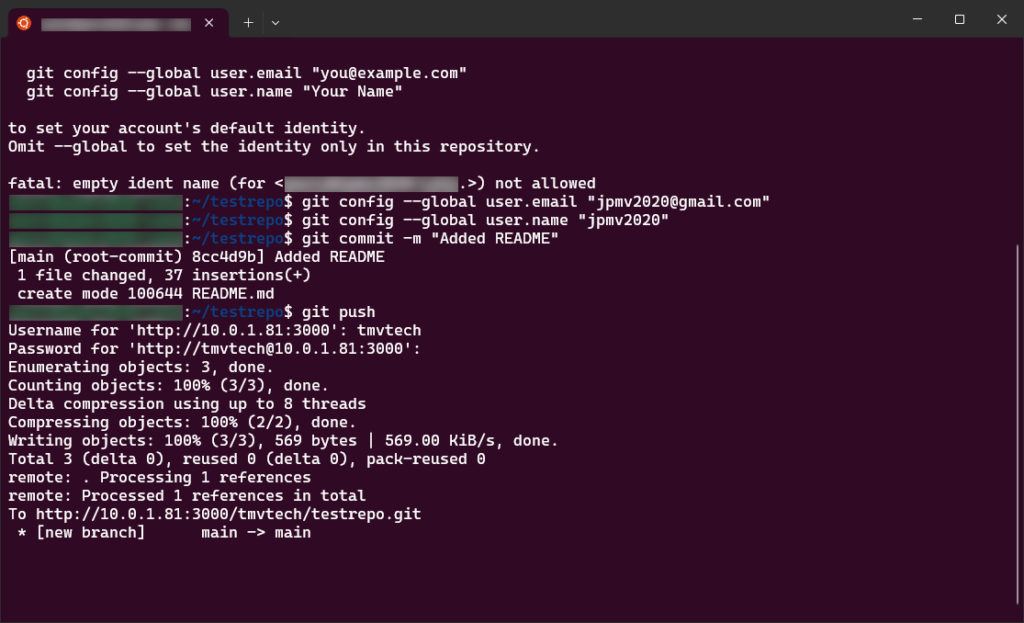
git commit -m "Added README"In case your commit fails, and git asks who you are, you can set your identity with the following two commands:
git config --global user.email "geral.tmvtech@gmail.com"
git config --global user.name "tmvtech"
After setting your identity, commit again and push your commits to the branch:
git commit -m "Added README"
git push
By default, you will be asked for your username and password, use the same ones you would use to log into Gitea:
And you should now be able to see your new file on Gitea:
And that’s all for today’s article, if you want to improve your workflow even further, check out the article we made about Jenkins with Gitea and Docker. Thanks for reading and stay tuned for more tech insights and tutorials. Until next time, keep exploring the world of tech!
