If you’re looking for an efficient way to manage translations for your projects, Accent is a great open-source tool to streamline the process. In this tutorial, we’ll guide you through setting up Accent on Ubuntu using Docker, configuring PostgreSQL, and getting your translation management system up and running.
Start by creating a folder for your app data and, in it, create a file named ‘docker-compose.yml’:
mkdir accent
cd accent
nano docker-compose.yml
Copy the configuration below to your file and change the Postgres password and Accent’s URL and Database URL:
services:
postgres:
image: postgres:15
container_name: accent_postgres
environment:
POSTGRES_USER: postgres
POSTGRES_PASSWORD: qwertyuiop123 # change this
POSTGRES_DB: accent_development
ports:
- "12121:5432"
restart: unless-stopped
command: ["postgres", "-c", "fsync=off", "-c", "full_page_writes=off"]
volumes:
- ./data:/var/lib/postgresql/data
accent:
image: mirego/accent
container_name: accent_server
depends_on:
- postgres
environment:
DATABASE_URL: postgresql://postgres:qwertyuiop123@postgres/accent_development # change password
CANONICAL_URL: http://yourip:12120 # change url
SECRET_KEY_BASE: "" # openssl rand -base64 64
# GITHUB_CLIENT_ID:
# GITHUB_CLIENT_SECRET:
DUMMY_LOGIN_ENABLED: "1"
ports:
- "12120:4000"
restart: unless-stopped
Now generate the Secret Key Base by running the command below and save it on the docker compose file:
openssl rand -base64 64
Then go to GitHub developer settings and create a new OAuth app.
https://github.com/settings/developers
App name can be Accent, url is the same one you use to access the app and callback URL is the url + ‘/auth/github/callback’:
Generate a secret and paste it in the docker compose file along with the ID. Also, comment or remove the ‘DUMMY_LOGIN_ENABLED’ variable:
Save the file, and then we can start our app by running:
docker compose up
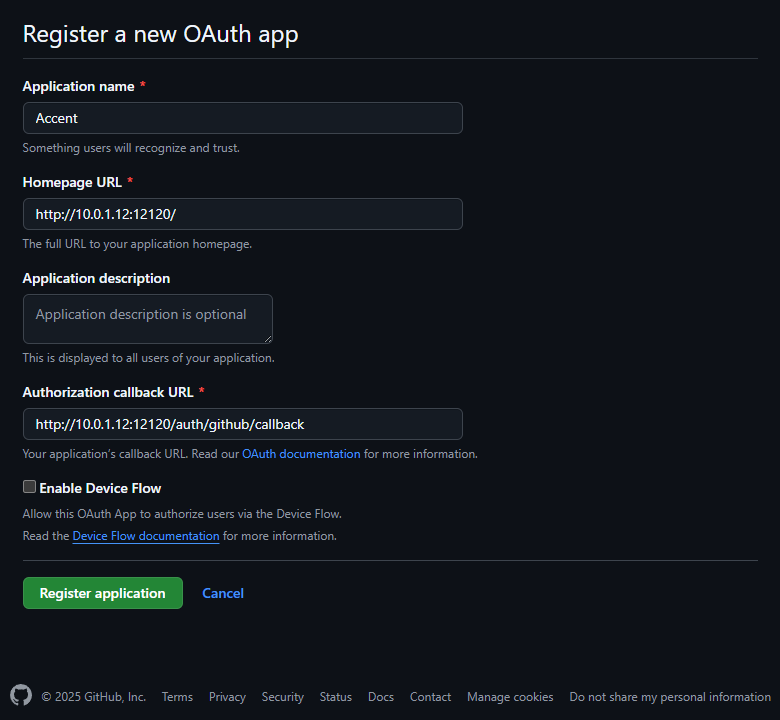
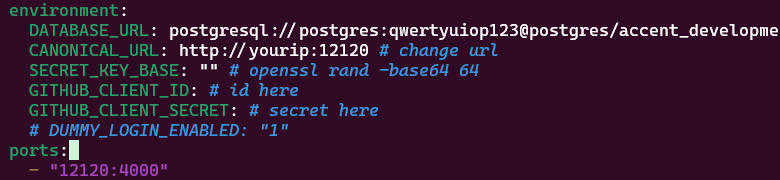
With the app set up and running, you can now access it by typing your URL in the browser:
http://yourip:12120
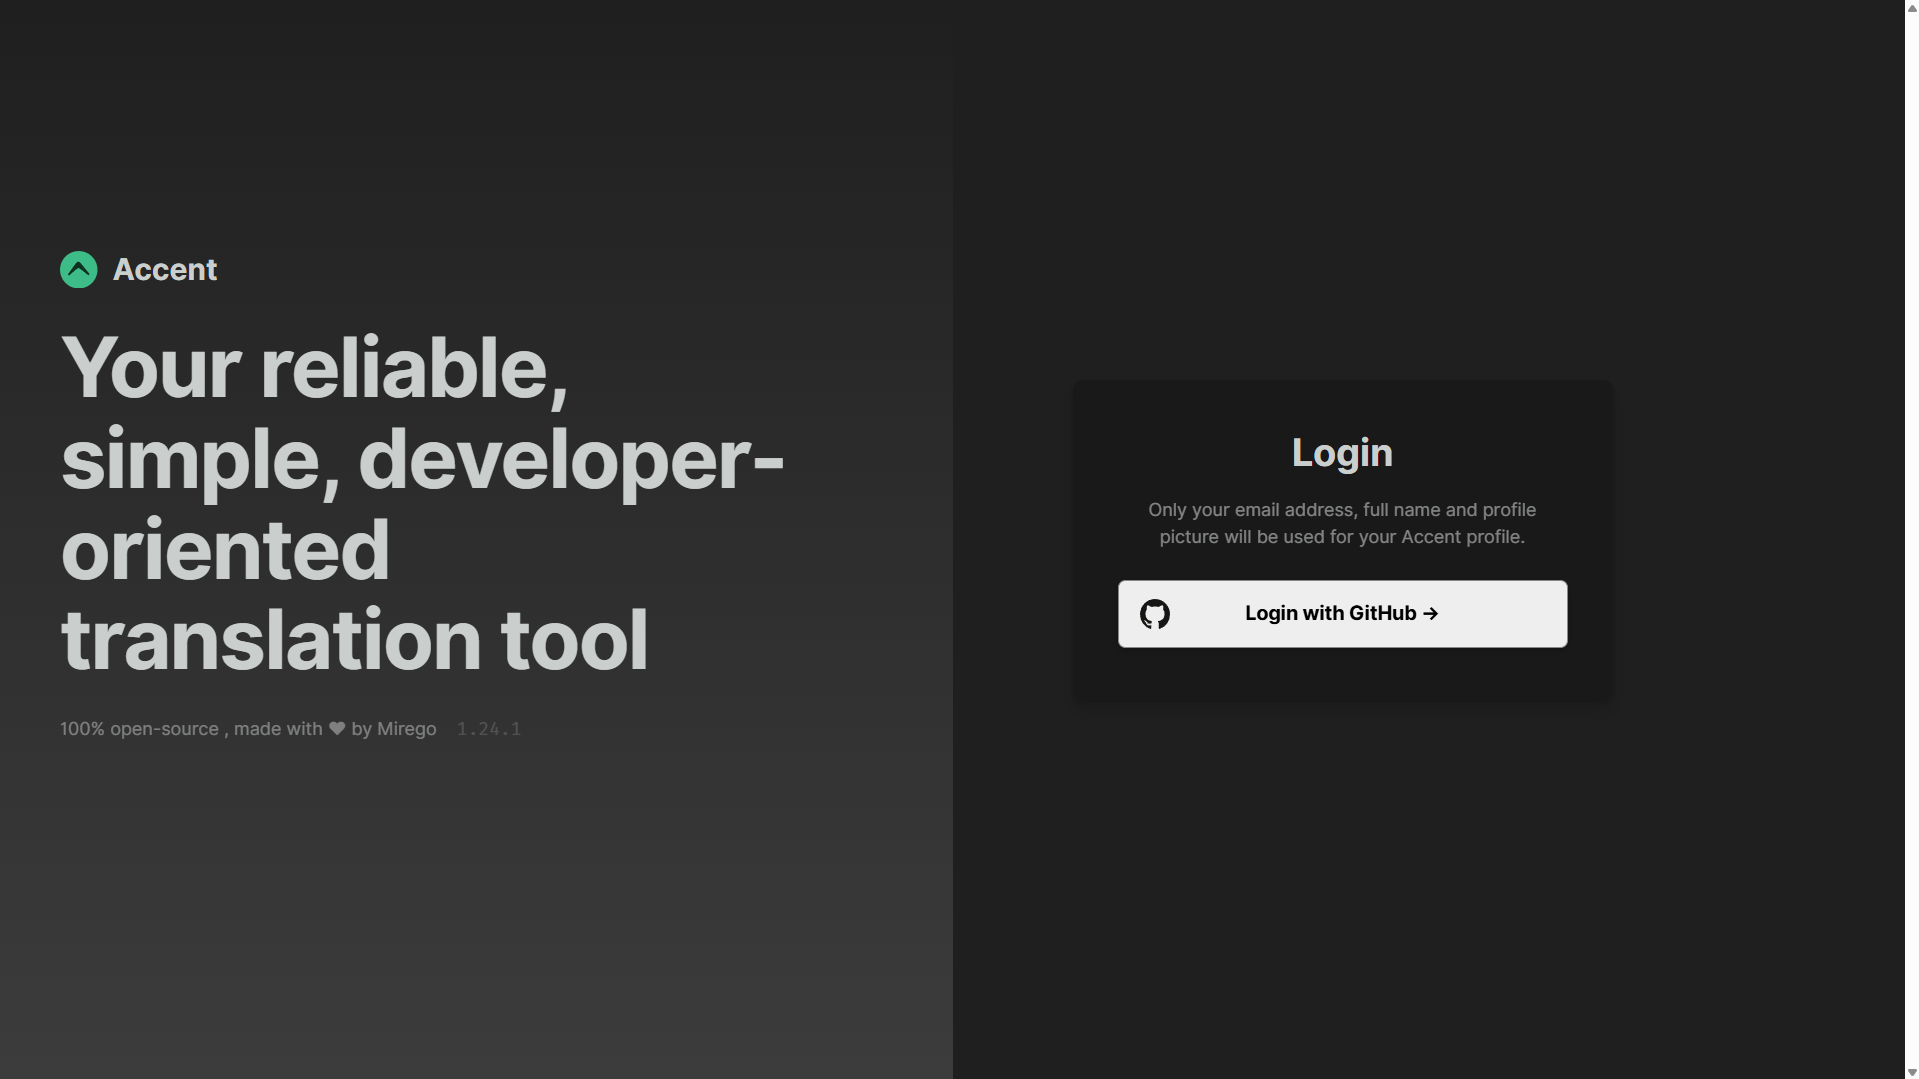
You will be asked to log in using GitHub, do it:
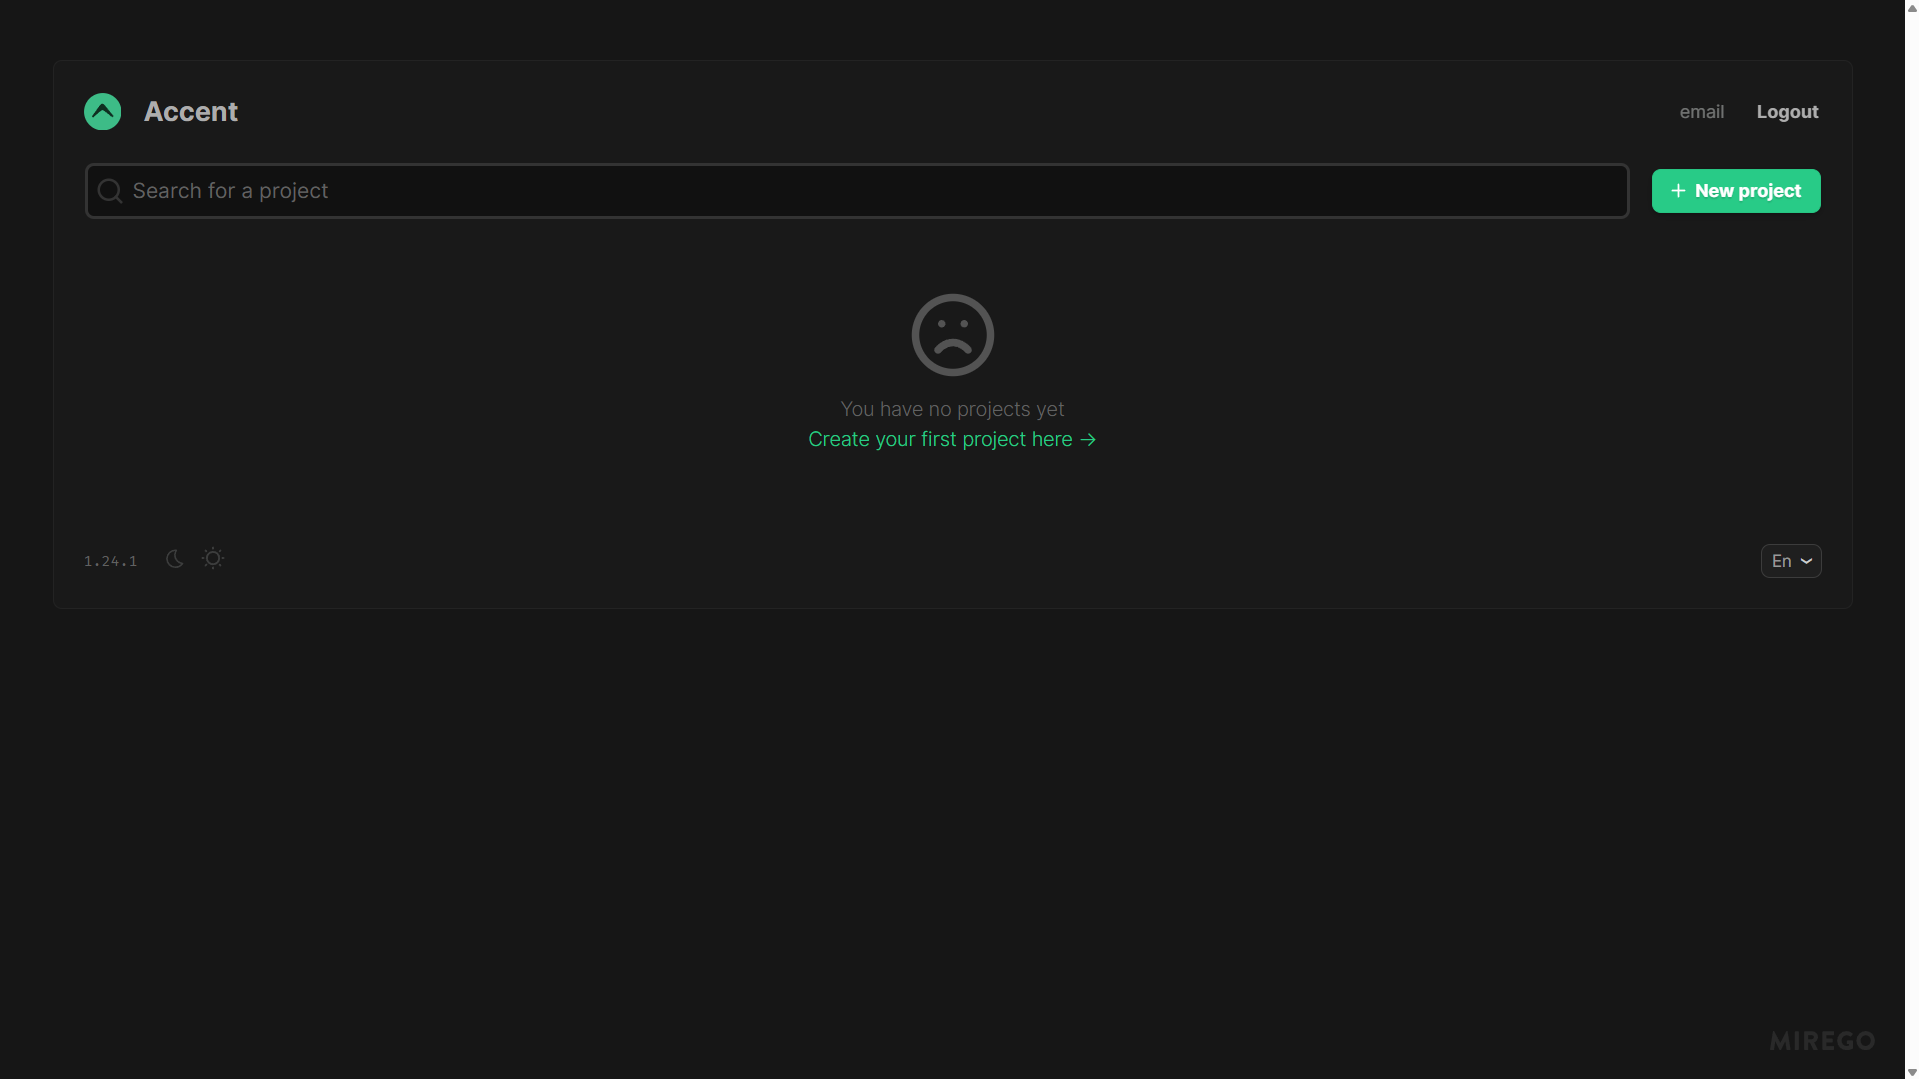
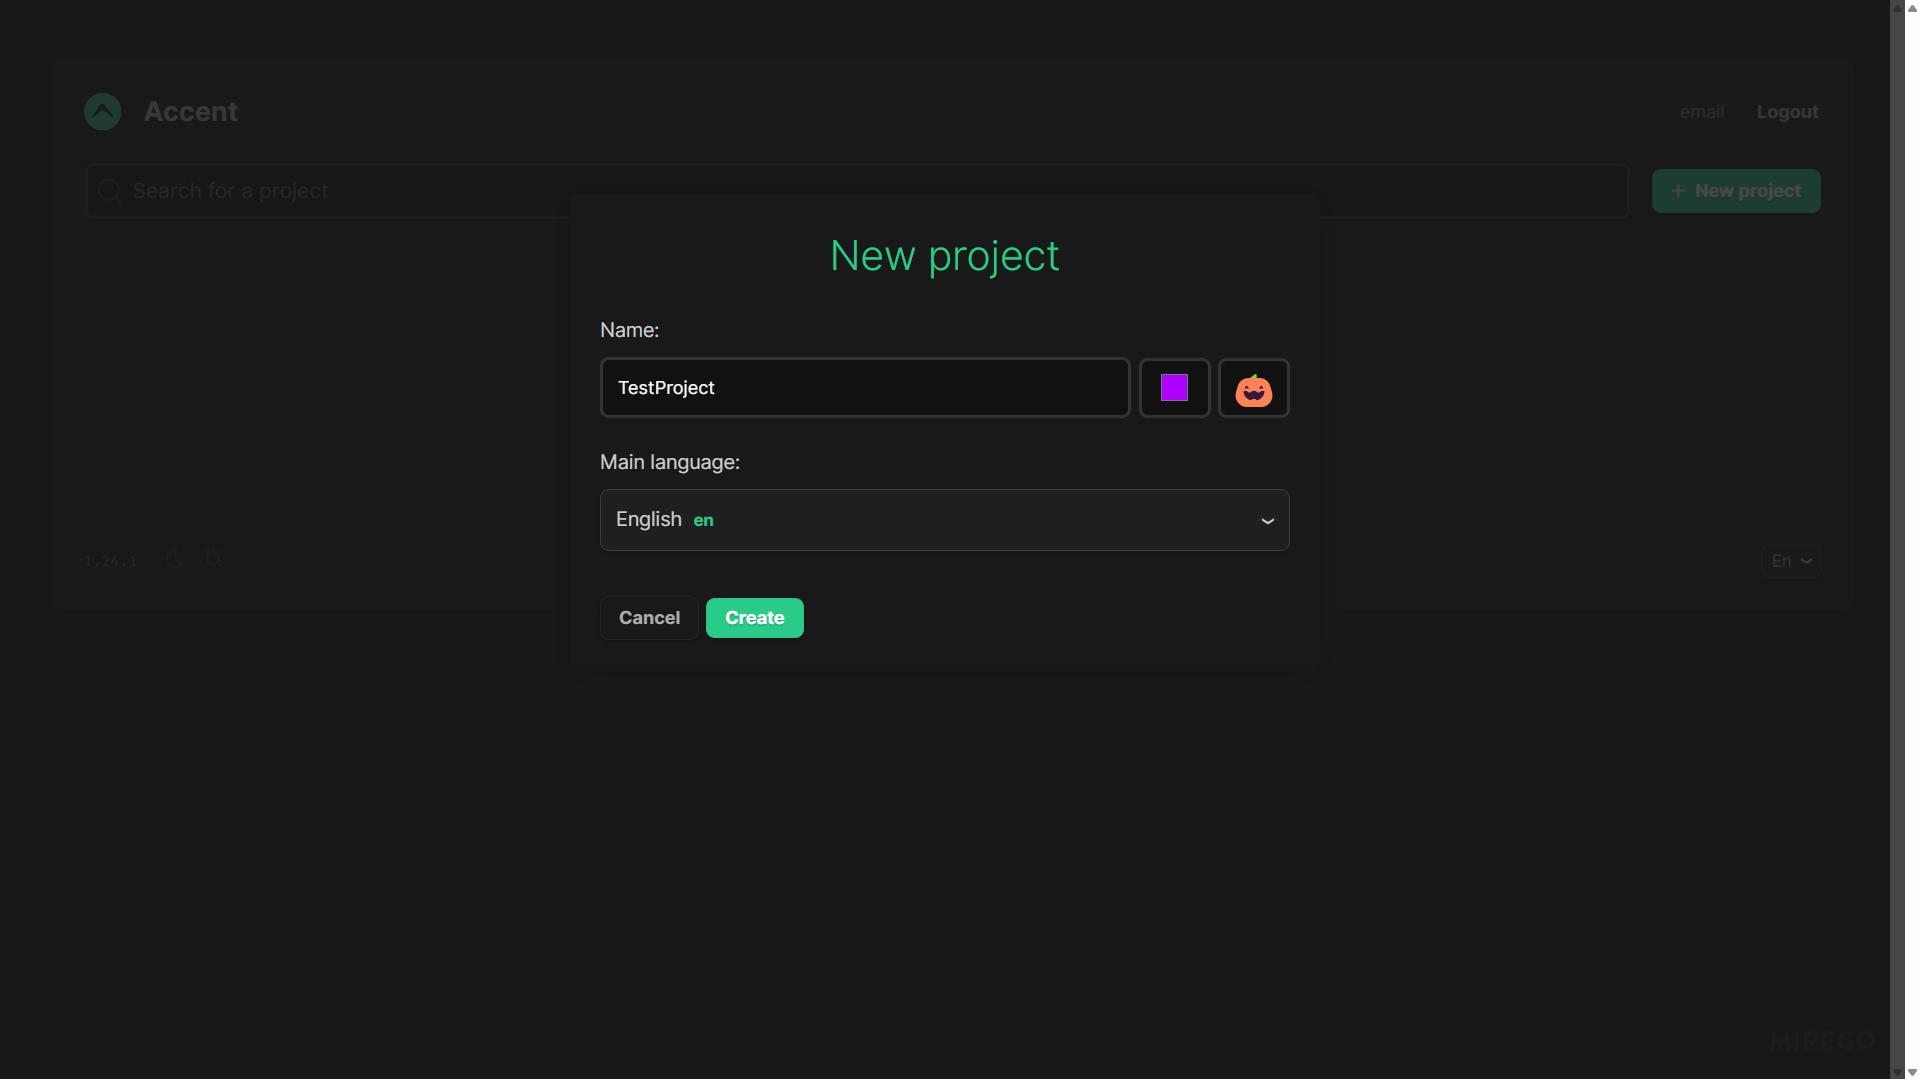
After logging in you will be greeted with the projects page, as you won’t have any, create one by pressing the ‘New project’ button on the top right:
You can choose a name, color, emoji, and main language for your project:
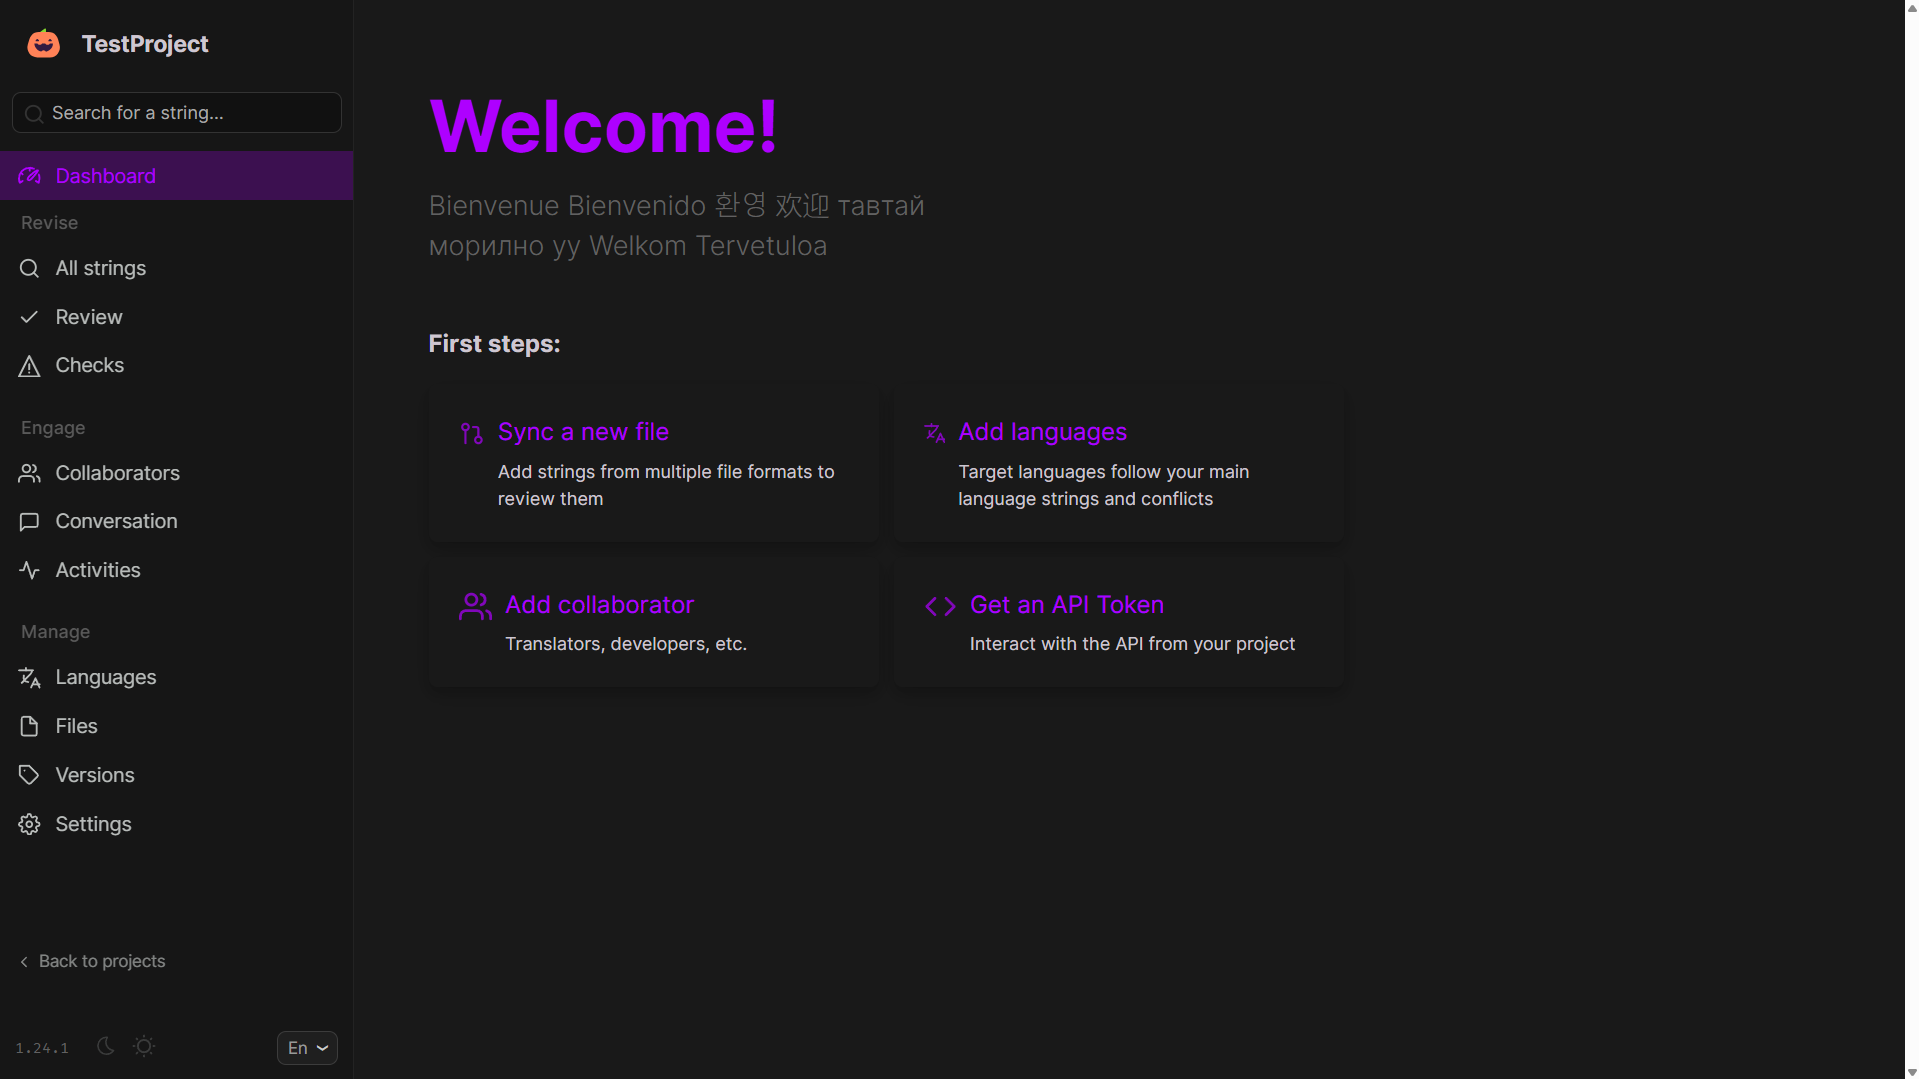
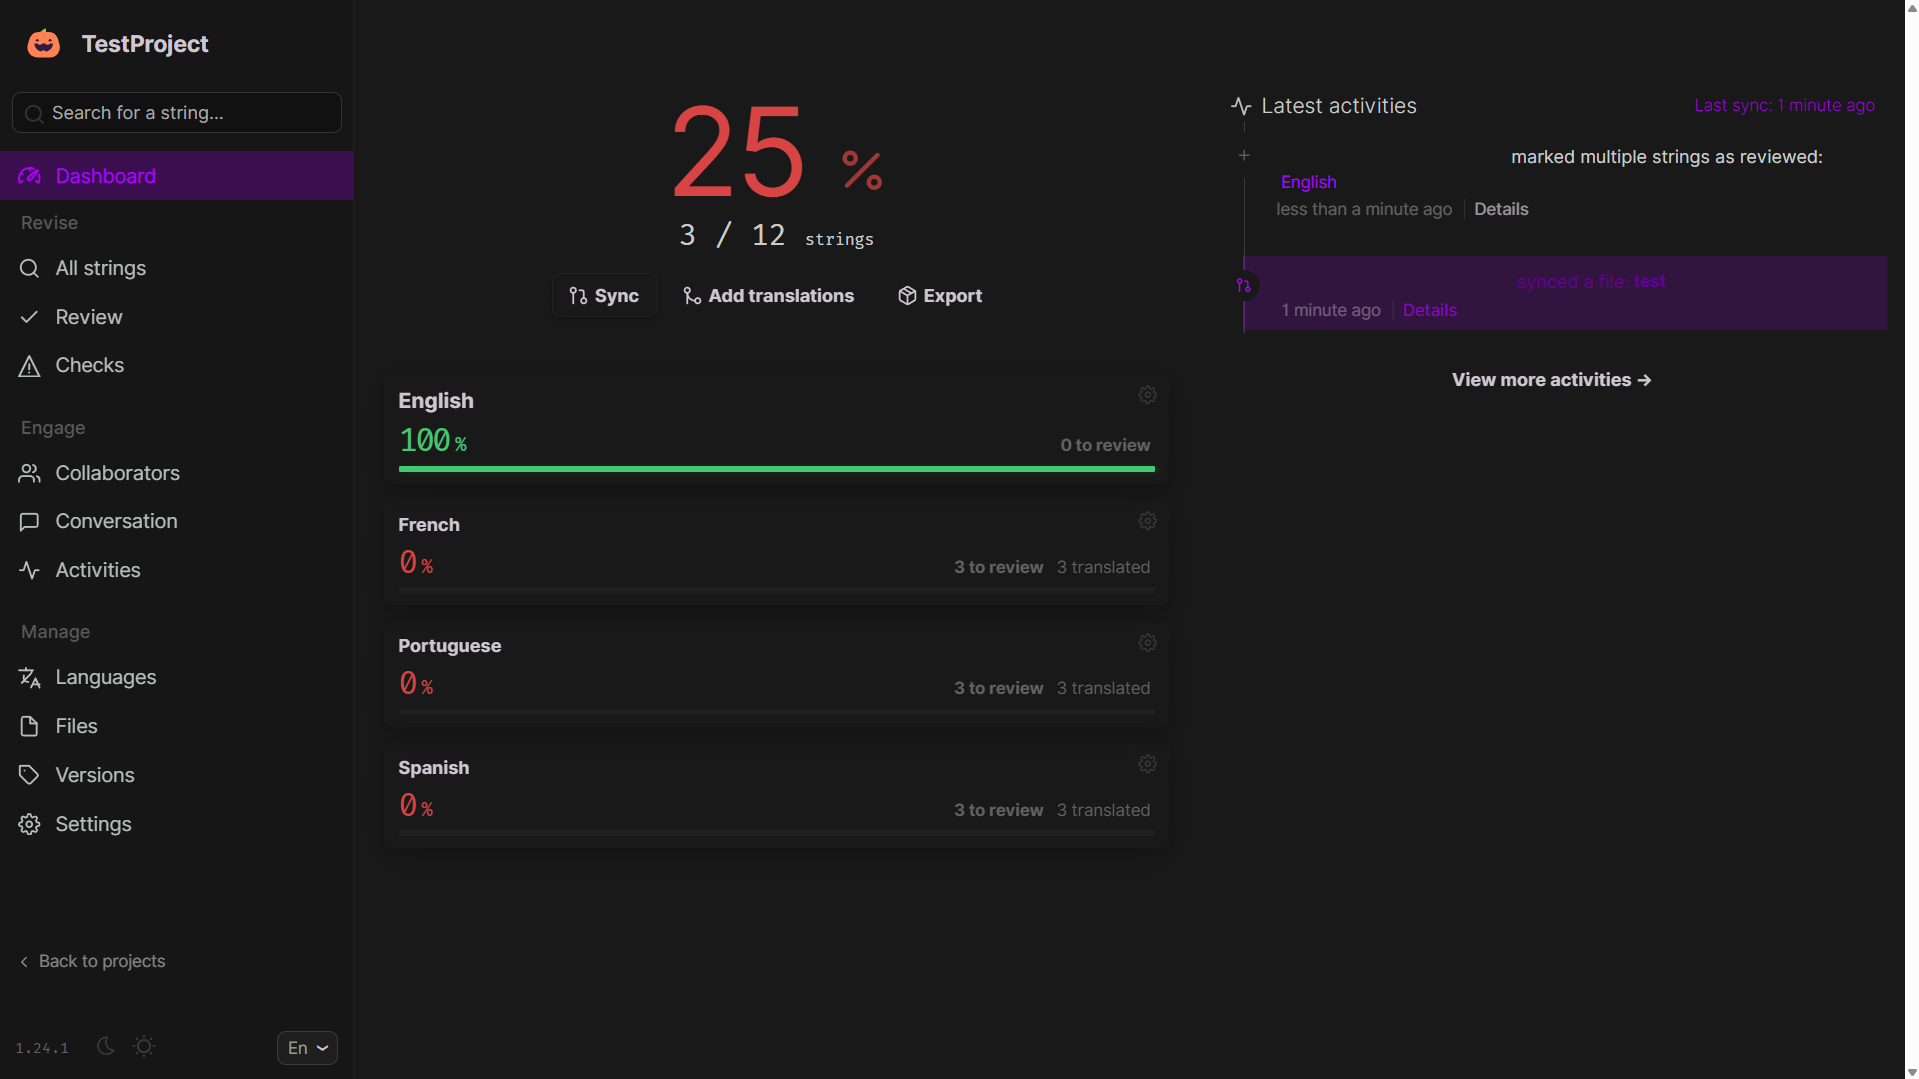
On the Dashboard you will be able to see the status of your project, because it just started, you first need to add files, languages, and collaborators:
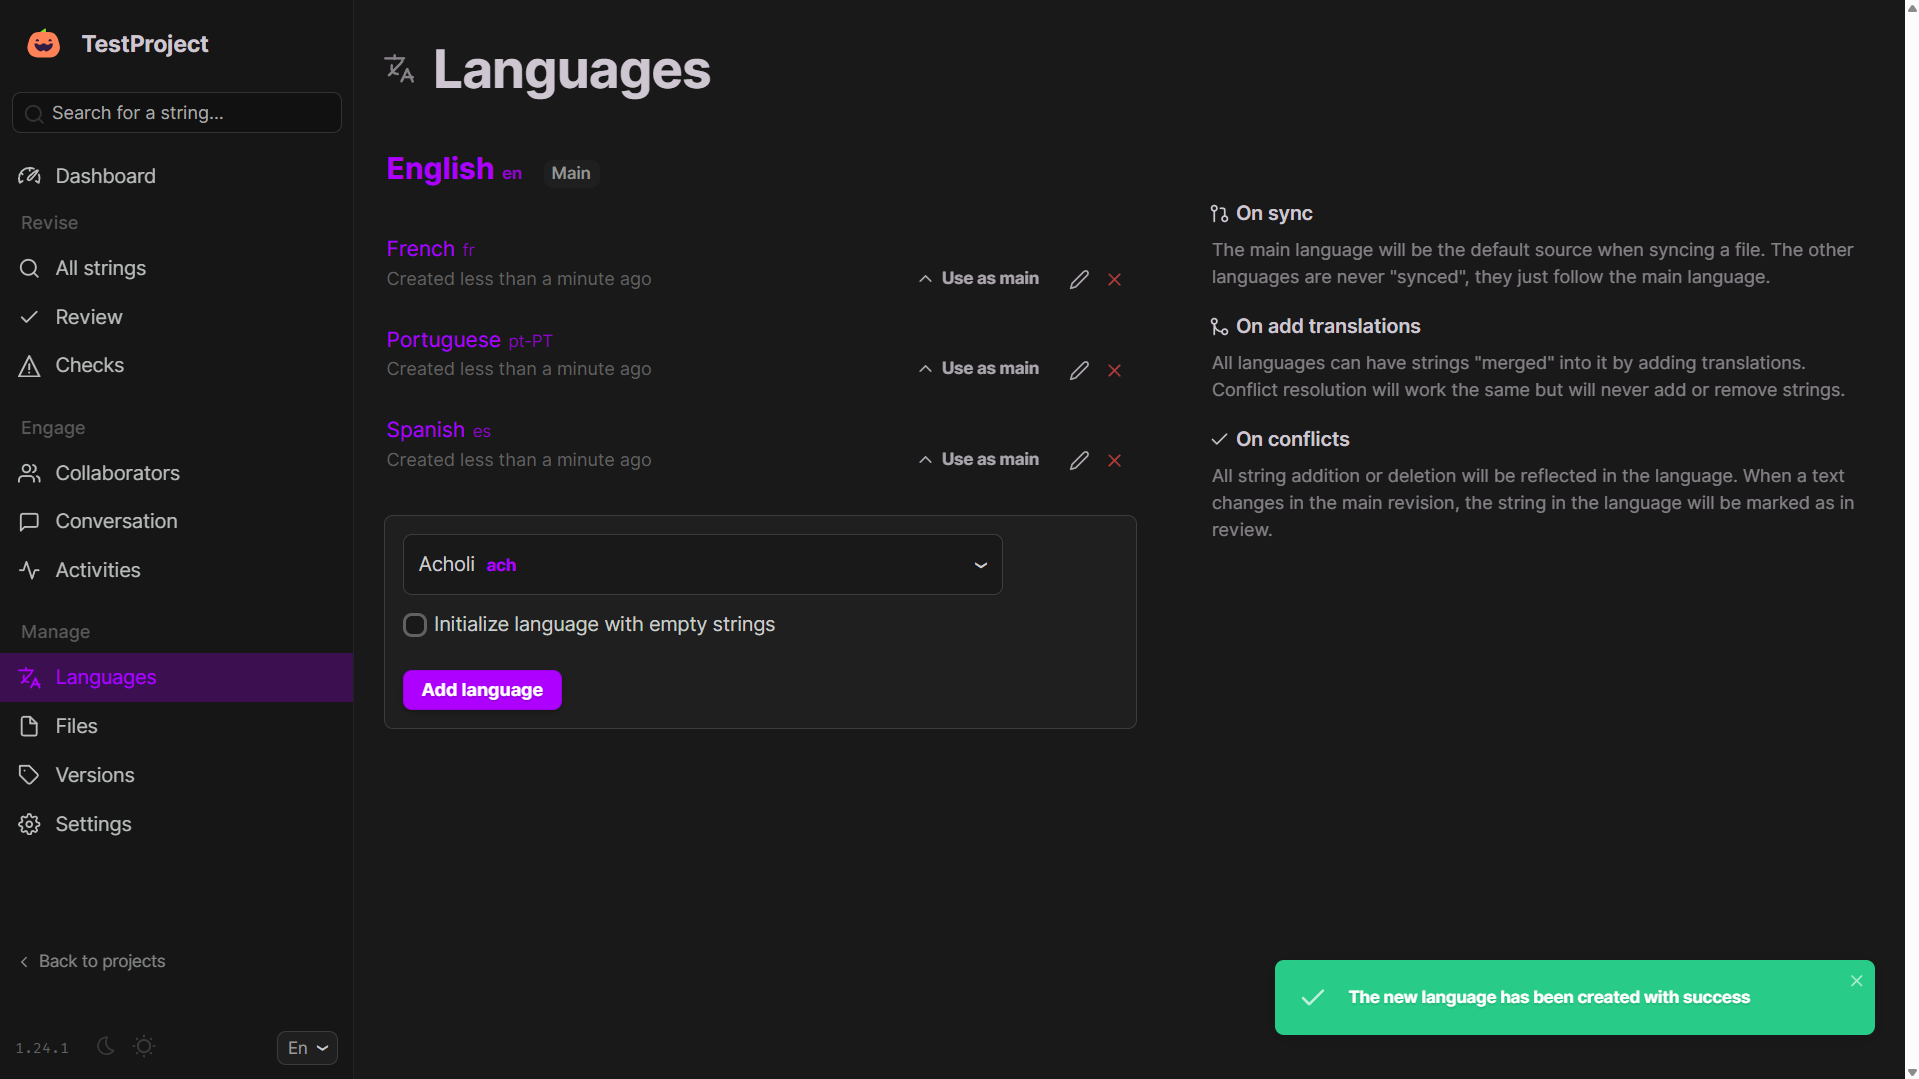
Adding languages is very easy, just go to the languages tab, choose one and click on add:
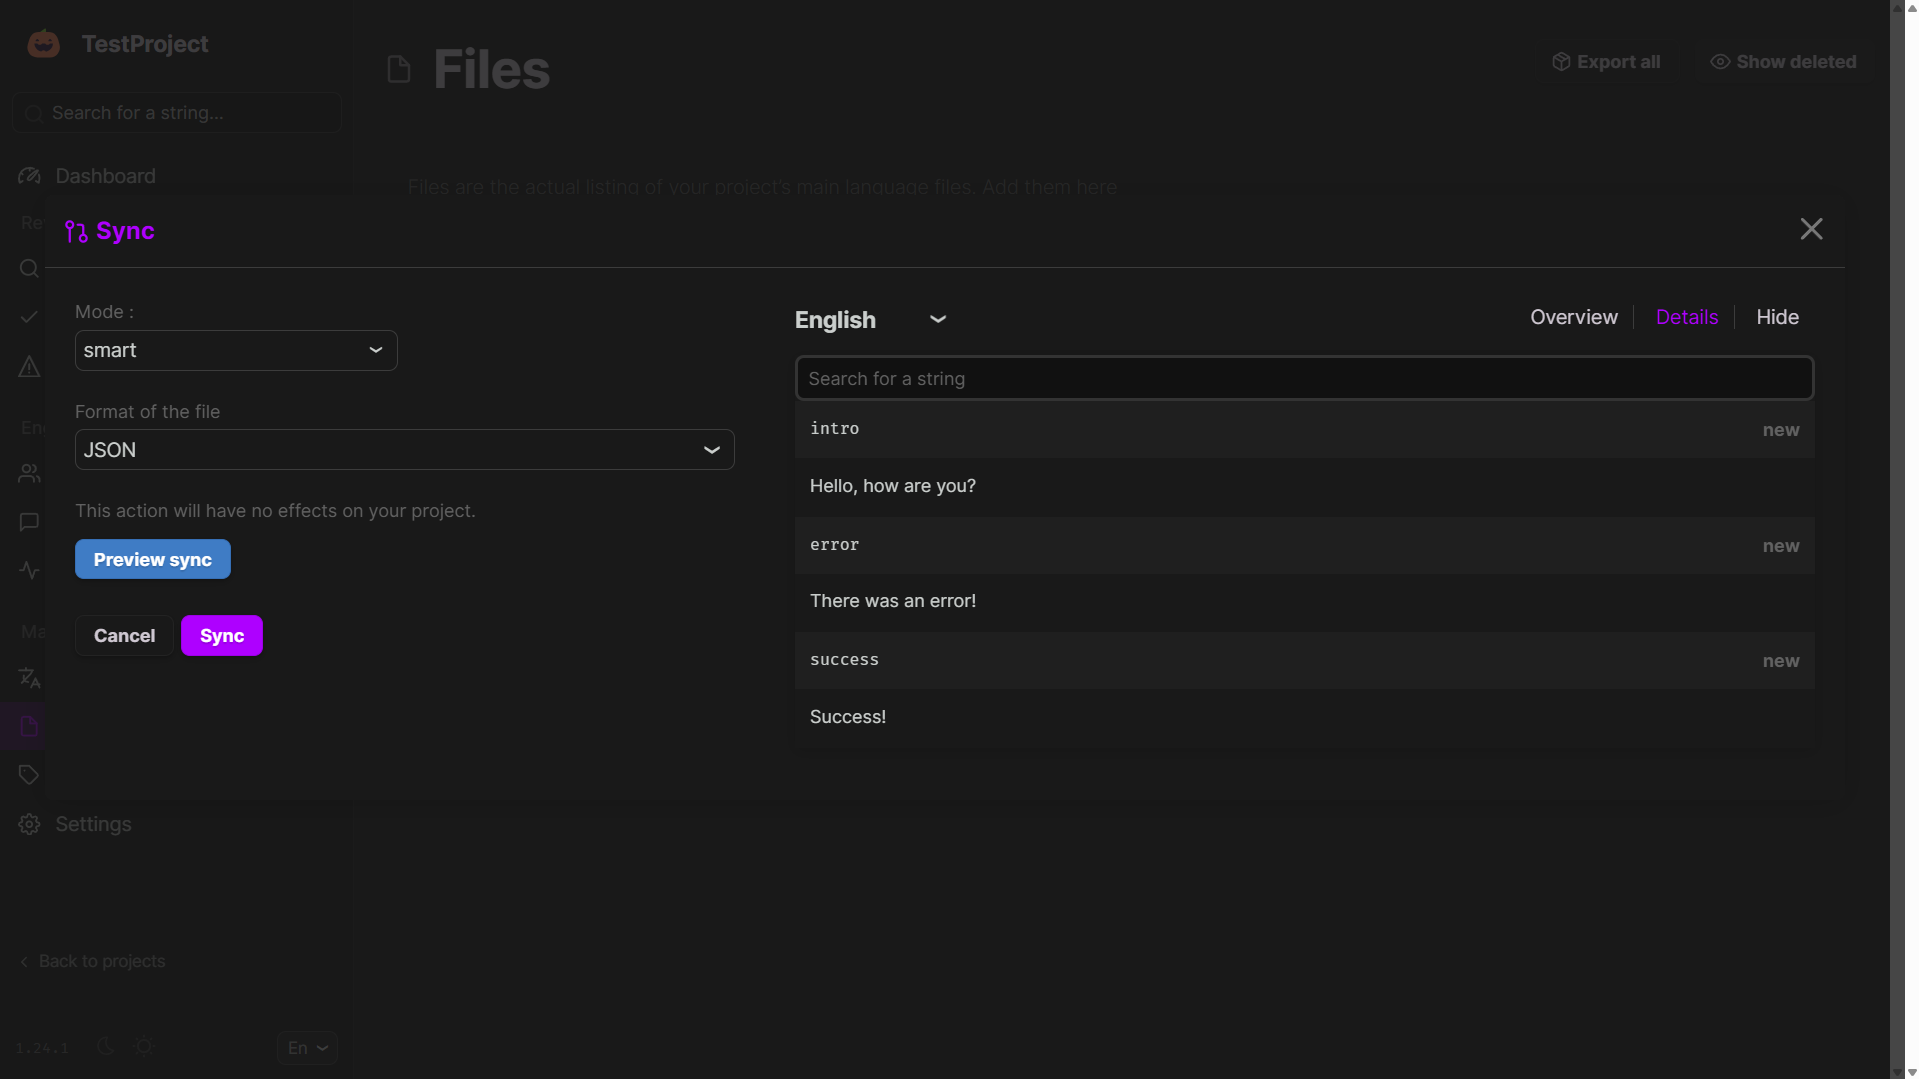
Adding files is also pretty easy, just add a JSON file with keys and values:
For example, I used this file:
{
"intro": "Hello, how are you?",
"error": "There was an error!",
"success": "Success!"
}
Select the format on the left and, on the right, you can preview what will be imported:
Going back to the dashboard, you should now see the progress of your project:
And that’s all. Thanks for reading and stay tuned for more tech insights and tutorials. Until next time, and keep exploring the world of tech!