
0 - Introduction
If you like to travel and plan every single detail of it or just need a place to write everything you have done after each trip to save the memories, Adventure Log is the perfect Webapp for you. This app was specifically designed to document your travel experiences and even share them with friends and family.
Before starting the installation tutorial, make sure you have docker installed on your machine. You can learn how to install docker here.
1 - Setup
Once you have docker installed and are ready to use it, create a folder for Adventure Log’s data and, in it, create a file named ‘docker-compose.yml’:
mkdir adventurelog
cd adventurelog
nano docker-compose.yml
Inside the docker compose file, paste the configuration below. In short, we will have a frontend, backend and a database.
services:
    web:
        image: ghcr.io/seanmorley15/adventurelog-frontend:latest
        container_name: adventurelog-frontend
        restart: unless-stopped
        environment:
            - PUBLIC_SERVER_URL=http://server:8000 # DONT CHANGE
            - ORIGIN=http://10.0.1.12:9070 #change
            - BODY_SIZE_LIMIT=Infinity
        ports:
            - "9070:3000"
        depends_on:
            - server

    db:
        image: postgis/postgis:15-3.3
        container_name: adventurelog-database
        restart: unless-stopped
        environment:
            POSTGRES_DB: database
            POSTGRES_USER: adventure
            POSTGRES_PASSWORD: qwertyuiop # CHANGE
        volumes:
            - ./data/database:/var/lib/postgresql/data/

    server:
        image: ghcr.io/seanmorley15/adventurelog-backend:latest
        container_name: adventurelog-backend
        restart: unless-stopped
        environment:
            - PGHOST=db
            - PGDATABASE=database
            - PGUSER=adventure
            - PGPASSWORD=qwertyuiop # CHANGE
            - SECRET_KEY=qwertyuiop # CHANGE
            - DJANGO_ADMIN_USERNAME=admin
            - DJANGO_ADMIN_PASSWORD=admin
            - DJANGO_ADMIN_EMAIL=admin@example.com
            - PUBLIC_URL='http://10.0.1.12:9071' # CHANGE
            - CSRF_TRUSTED_ORIGINS=http://10.0.1.12:9071 # CHANGE
            - DEBUG=False
            - FRONTEND_URL='http://10.0.1.12:9070' # CHANGE
        ports:
            - "9071:80"
        depends_on:
            - db
        volumes:
            - ./data/media:/code/media
After saving the file (CTRL+O and CTRL+X if you used nano), you can start the app by running:
docker compose up -dAnd after everything starts up, you can access your app by going to:
http://machineip:9070In the home page you will have the option to Login and Signup, press the later:
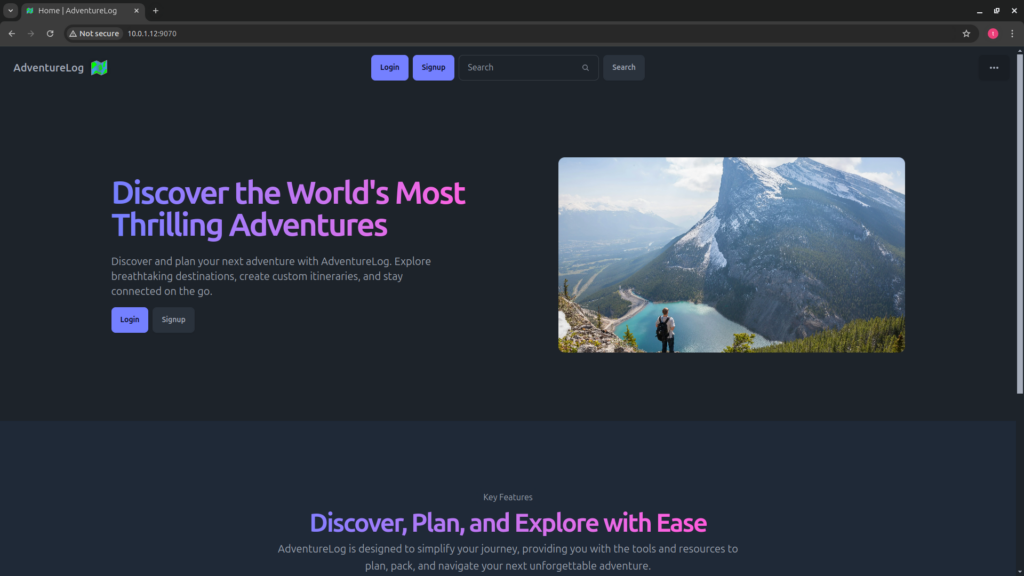
In the home page you will have the option to Login and Signup, press the later:
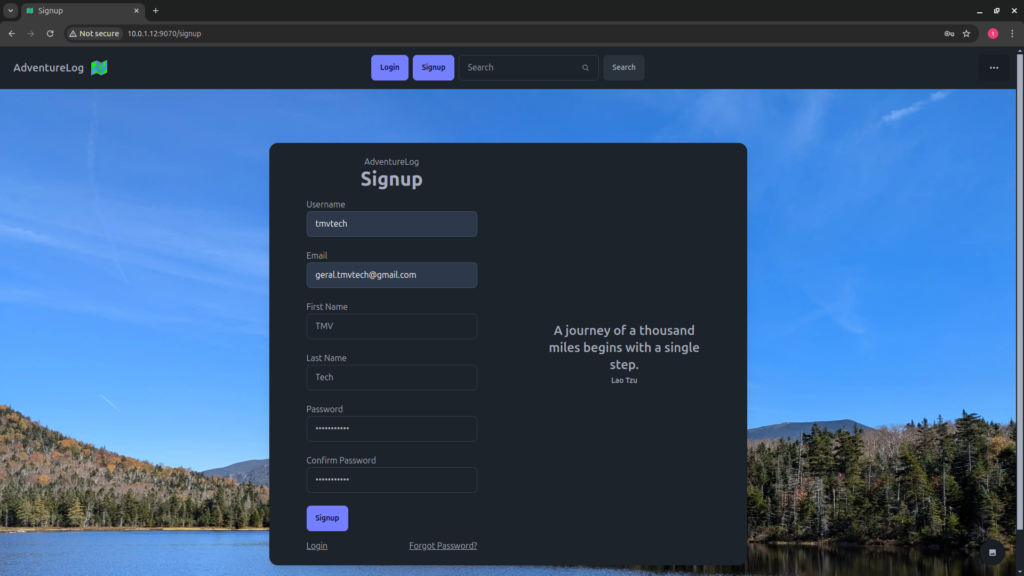
After creating your account, you will be redirected to the home page again, press login, input your credentials and press login again:

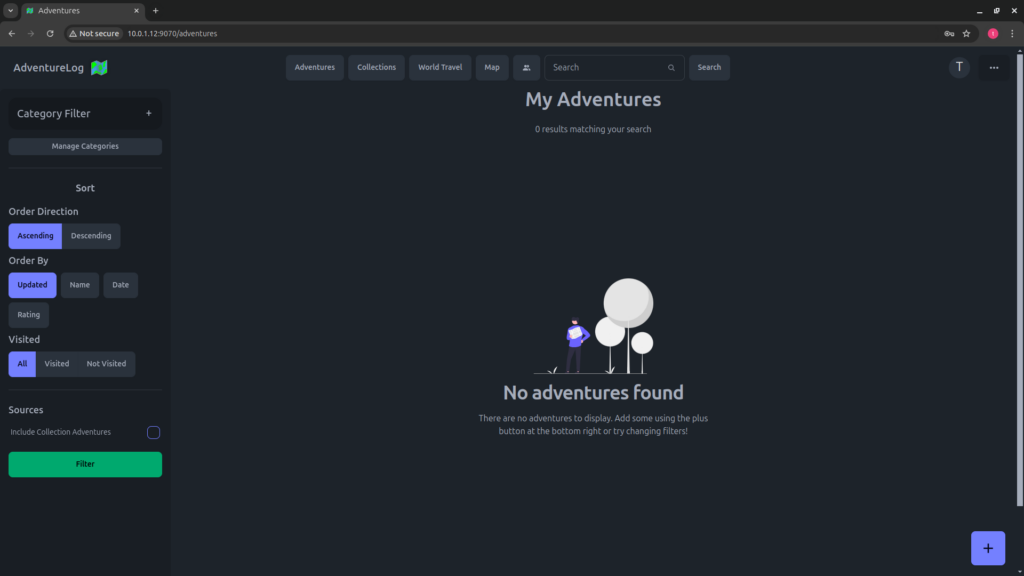
On the ‘Adventures’ tab, you can add the all the places you went to, along with photos and the category. For example, imagine you are an hiker, you can use on of the photos from the place you went to, for the name, you can use the name of the place you went to and for the category, you can use something like ‘hike’ or ‘trail’.
On the ‘World Travel’ tab, you can save all the regions and countries you went to and you can also filter by those you already visited or ones that you never did.
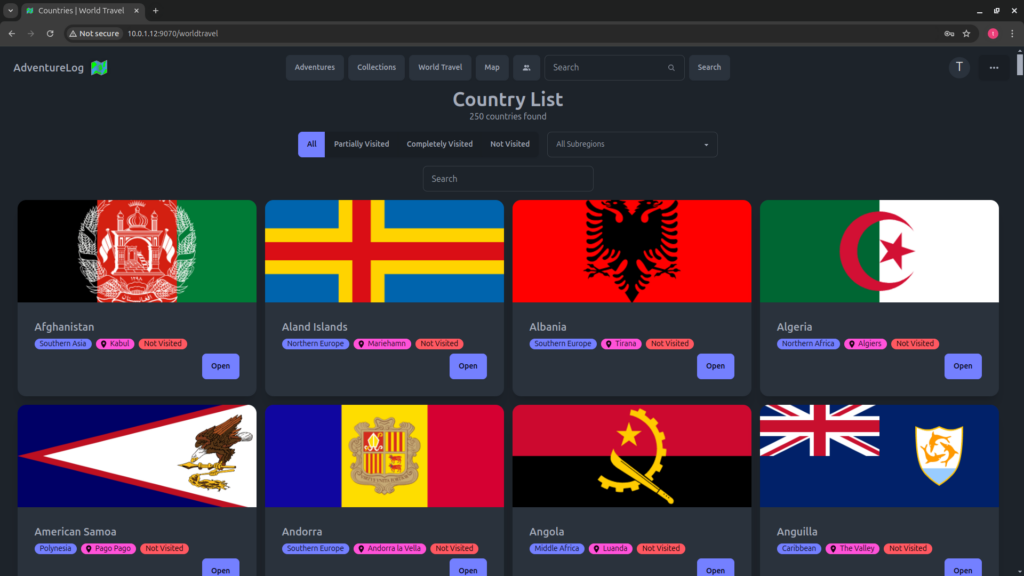
If you click on a country, you will see the various districts / states / cities of that specific country.

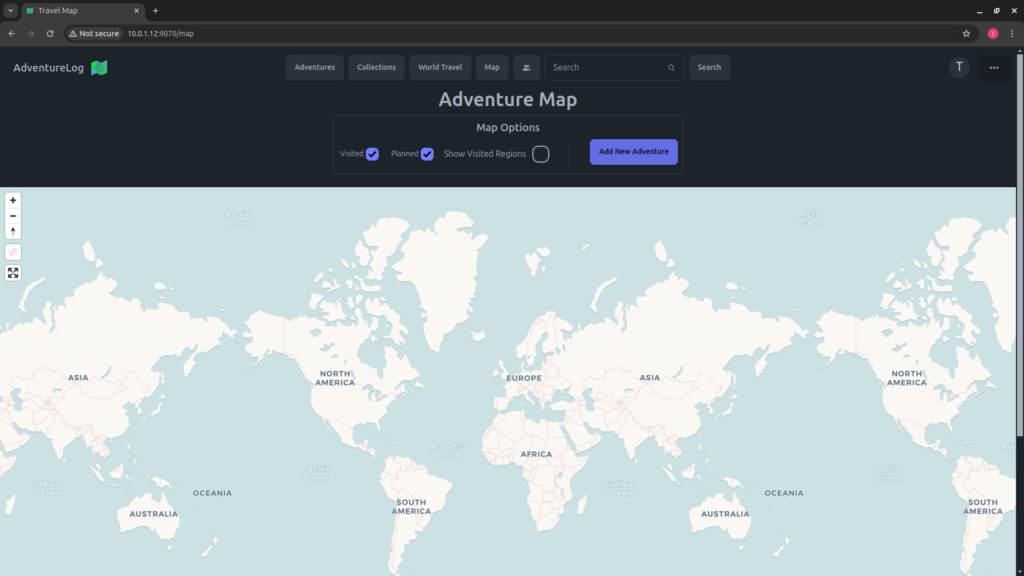
And finally, on the ‘Map’ tab, you will see all you ‘Adventures’.
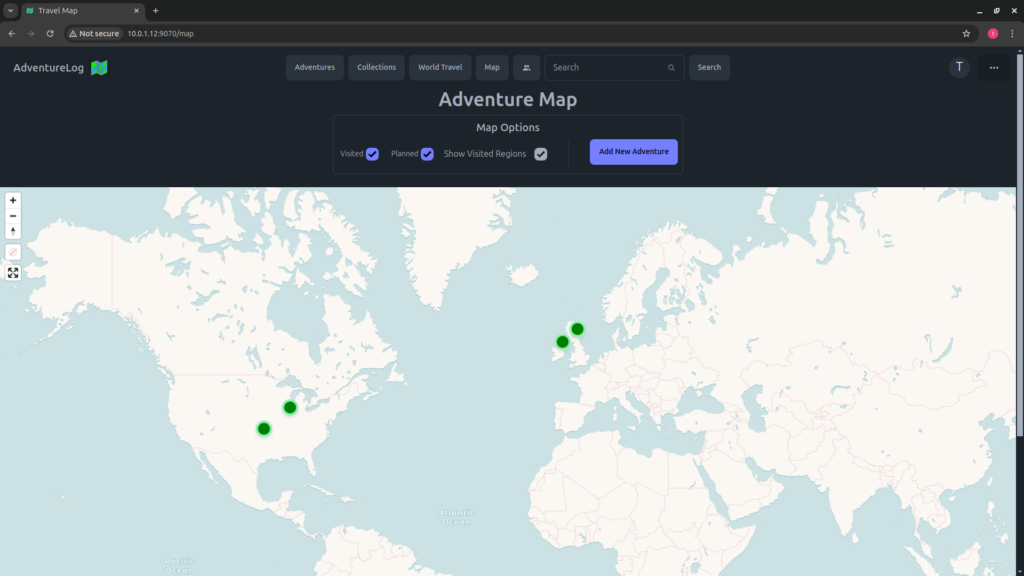
Also on the ‘Map’ tab, if you toggle ‘Show Visited Regions’ you will see all the regions you tagged on the ‘World Travel’ tab.
And that’s it. Thanks for reading and stay tuned for more tech insights and tutorials. Until next time, and keep exploring the world of tech!