
When managing Docker containers, monitoring logs efficiently is crucial for debugging and performance analysis. Dozzle is a lightweight, real-time log viewer that simplifies this process by providing an easy-to-use web interface. In this tutorial, we’ll walk you through the steps to set up Dozzle on an Ubuntu machine using Docker Compose. Whether you’re running a single host or a multi-node Docker Swarm, this guide will help you get Dozzle up and running in no time.
Let’s start by creating a folder for the app’s data, in it also create a file named ‘docker-compose.yml’:
mkdir dozzle
cd dozzle
nano docker-compose.yml
In the docker compose file, paste the following configuration:
services:
  dozzle:
    image: amir20/dozzle:latest
    container_name: dozzle
    restart: unless-stopped
    volumes:
      - /var/run/docker.sock:/var/run/docker.sock
    ports:
      - "8080:8080"
Once you save the file, run the following command:
docker compose up -dWhen the container starts up, you can then go to your machine’s IP colon 8080, to use the app:
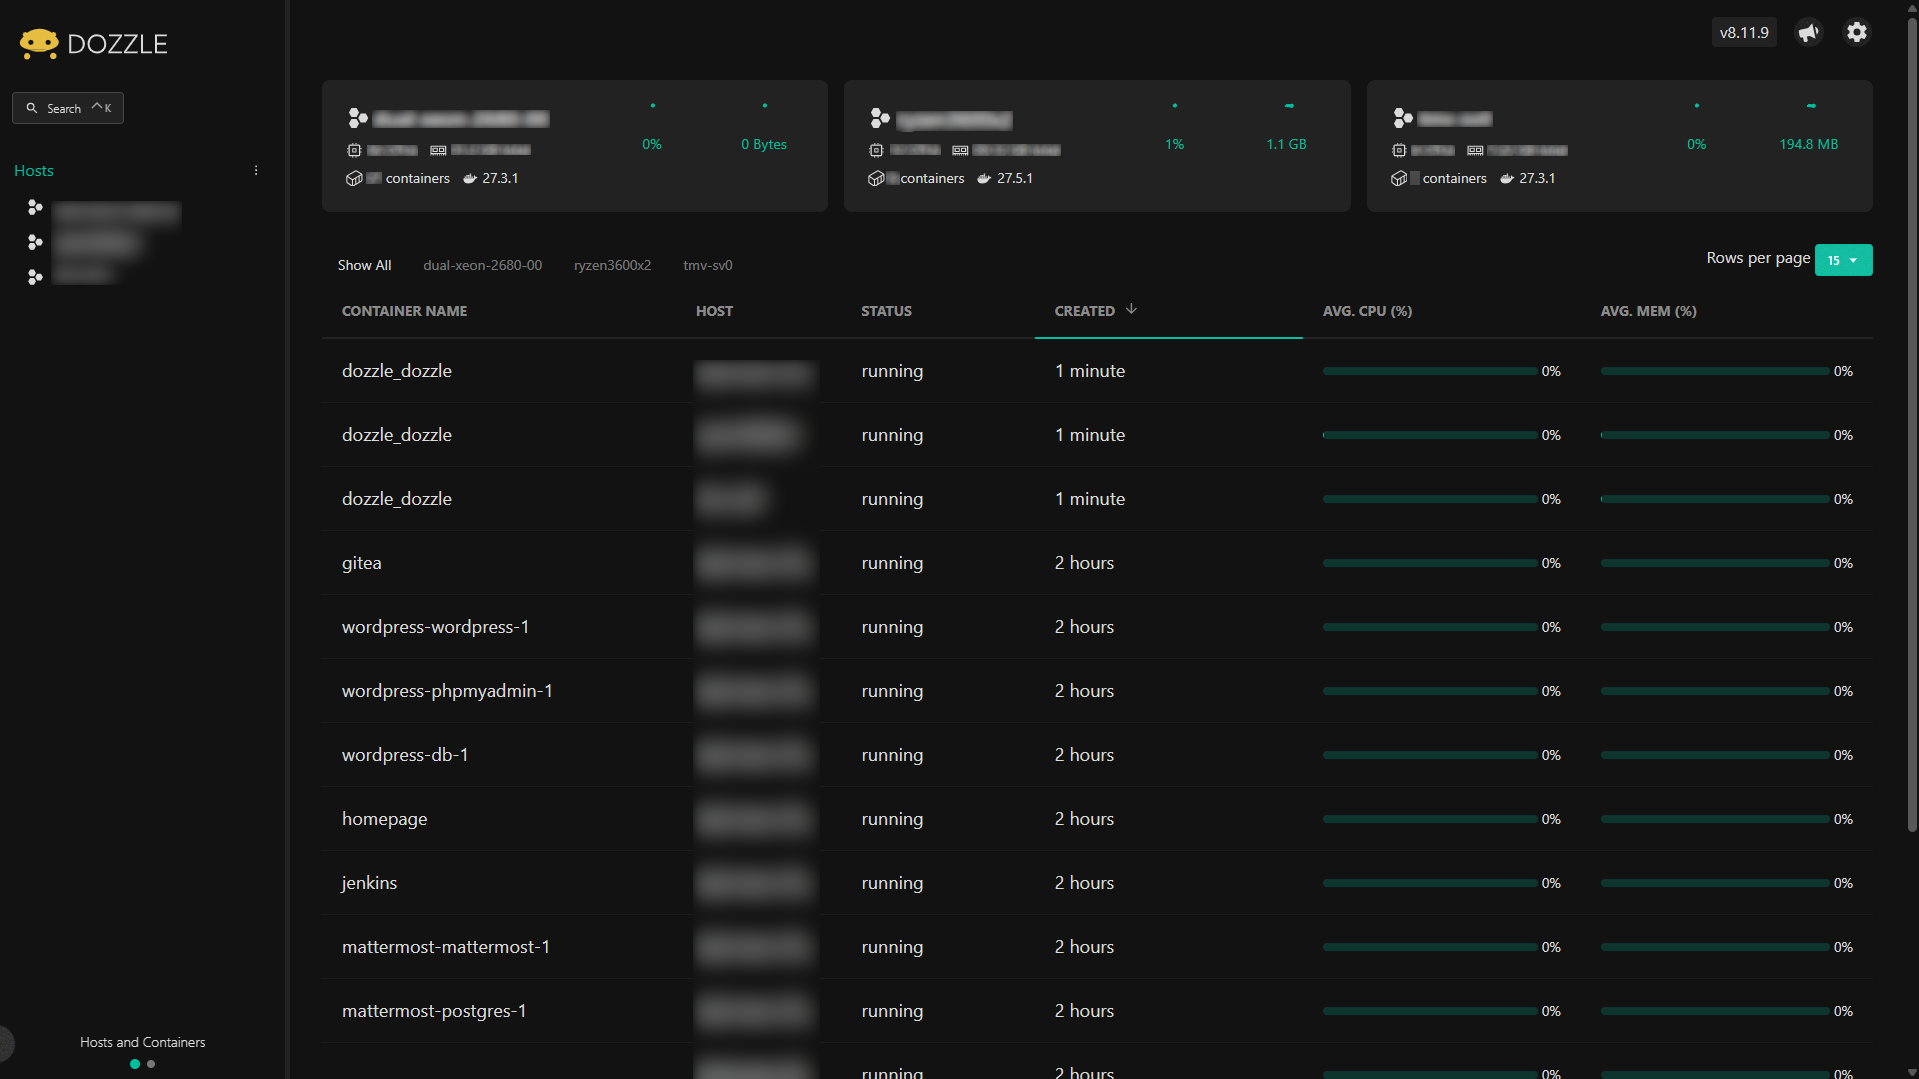
http://yourip:8080On the dashboard, you should see all the containers running on your machine as well as some stats:

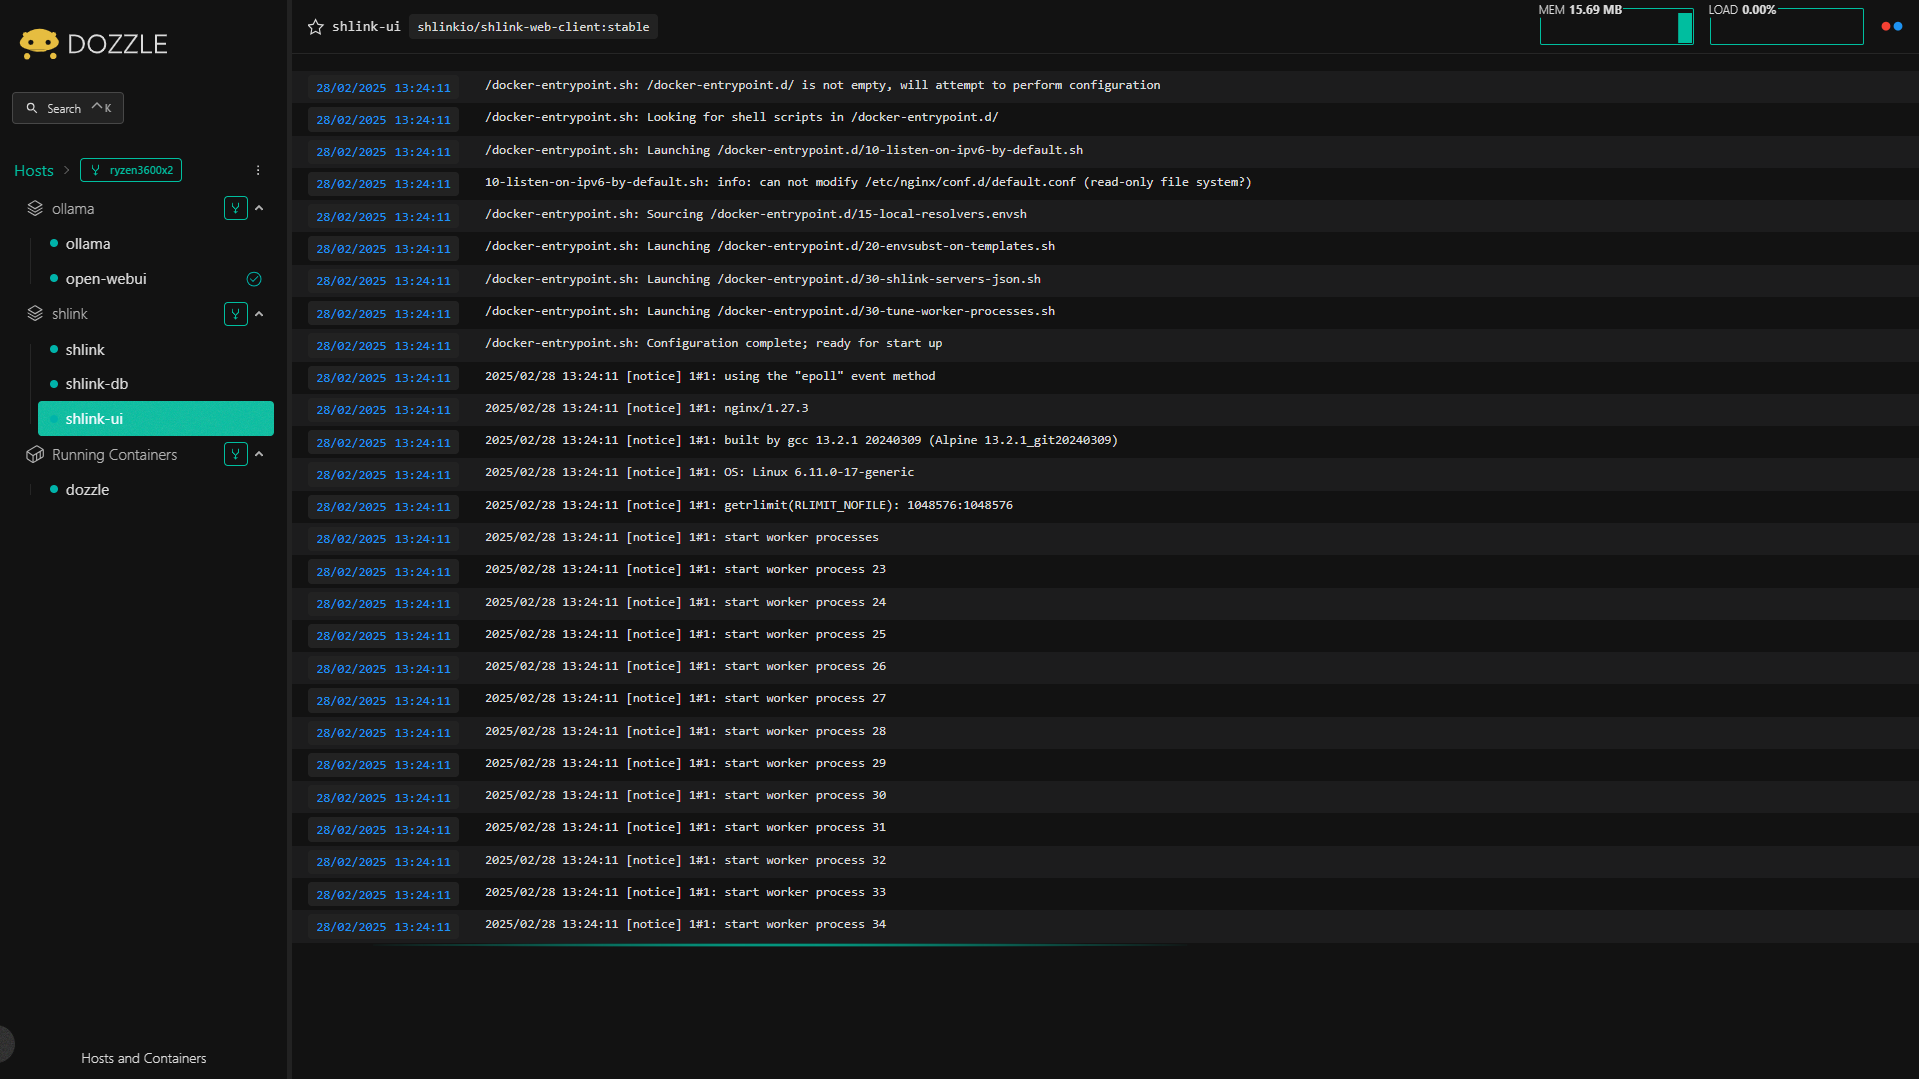
Clicking on one of the containers will allow you to read the logs of that container:
If you want to deploy Dozzle on multiple machines, create a docker swarm with:
docker swarm initRunning this command will give you a join command on screen, copy it and run it on all your other machines. After that, create this compose file in your main machine:
services:
  dozzle:
    image: amir20/dozzle:latest
    environment:
      - DOZZLE_MODE=swarm
    volumes:
      - /var/run/docker.sock:/var/run/docker.sock
    ports:
      - "8080:8080"
    networks:
      - dozzle
    deploy:
      mode: global
networks:
  dozzle:
    driver: overlay
To deploy the container to every node in the swarm, run the command below:
docker stack deploy -c docker-compose.yml dozzleYou can then access Dozzle on any one of the node’s IPs and you will be able to check the logs of every node on any one of them:
And that’s all. Thanks for reading, and stay tuned for more tech insights and tutorials. Until next time, keep exploring the world of tech!